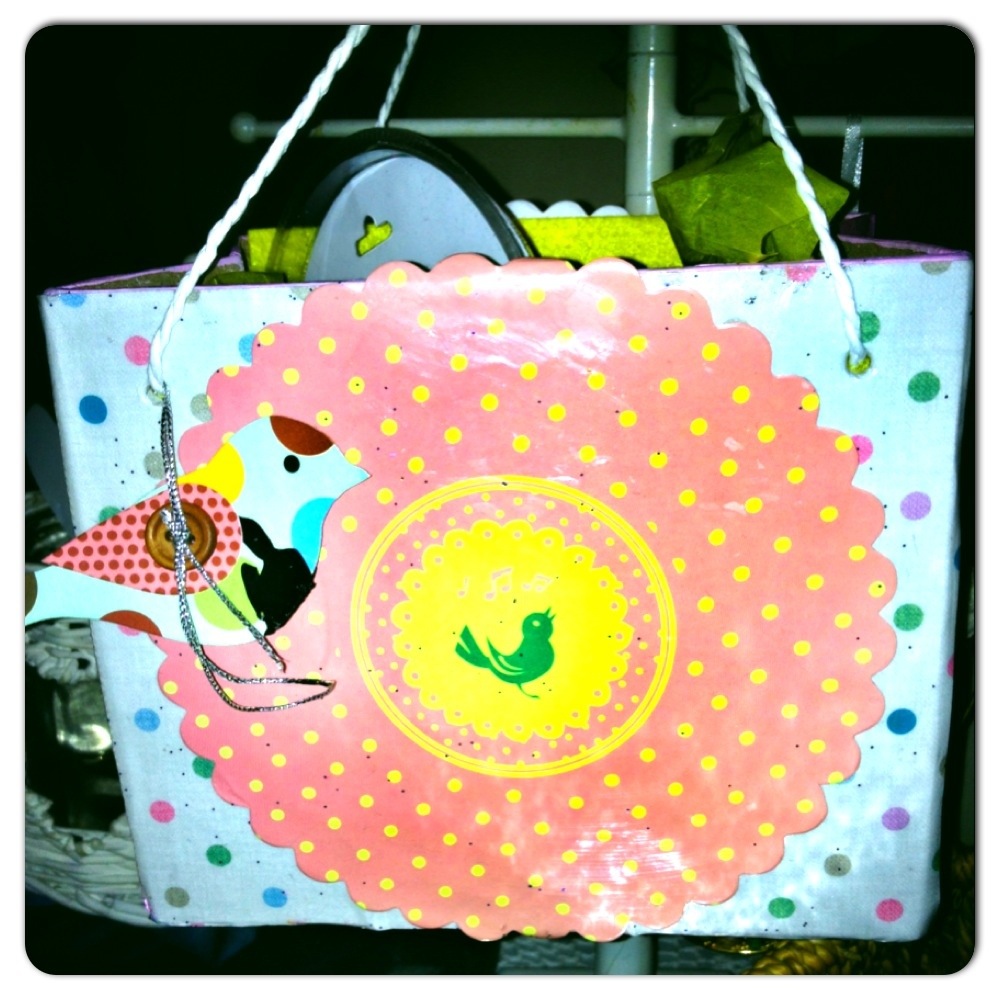
This fabulous simmering bag has been put together by combining Papier mâché with mod podge. Its base that started as a cardboard box in Hobbycraft has received some super restyling, resulting in this handy storage bag for makeup.
Here’s what I used
Paper Mâché Box Bag (Hobbycraft)
Black acrylic paint – PoundLand
Mod podge gloss – Hobbycraft
Dark blue course glitter – Baker Ross Ltd
4 x Lace sequinned embellishments ( the type used for clothing and upholsteries)
Vintage Black bead and silver necklace
Small glass embellishments – PoundLand
2x small black bows – PoundLand
Old vintage broken brooch
Bag charm attachment (minus the charm)
Thick black lace (about 20 cms)
Extra strong glue dots (strips covered by plastic) PoundLand
4 metal bag feet with connectors (available from craft stores)
Electric blue felt -Baker Ross ltd
Additional tools needed
Paint and glue brushes
Paper plate ( to mix paint and mod podge)
Jewellery crimpers
Scissors
Large screw
Cork hammer
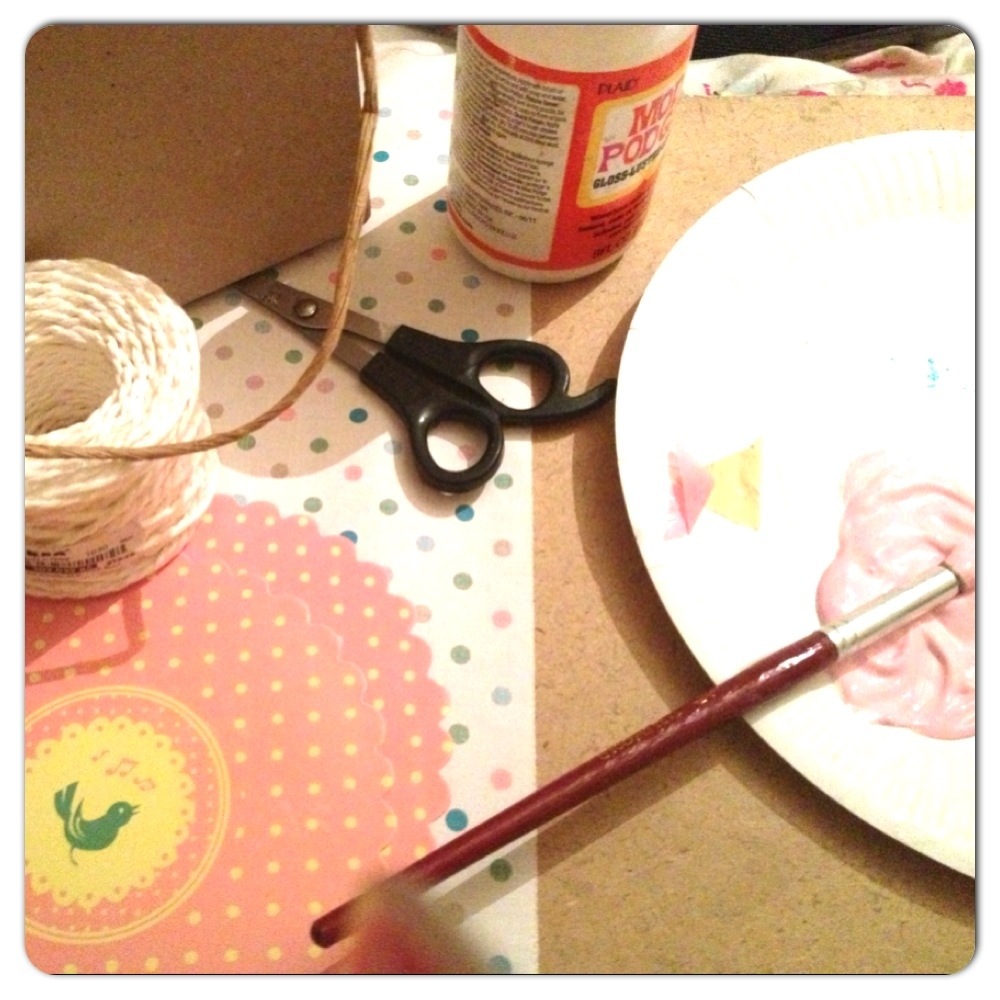
First take a paper plate and mix 4 parts mod podge with 8 parts black paint. You can add more paint or Mod Podge if required! You don’t want the mixture to turn grey, so it is important to add double as much black paint to that of the mod podge.
Once you have the mixture as it should be (gloppy and black) add a generous amount off your glitter. Because the mixture is so dark making it hard to see the glitter when mixed does mean its difficult to judge how much glitter to add! I tend to only know I have enough glitter, once my mixture has formed a very gritty texture. At first your mixture may seem dull and not very shimmery. This is only because the mixture is still wet, as it dries the glitter will become much more sparkly.

Now, prepare your box for painting by removing the current paper handles. Just cut these with scissors and discard off.
With a medium size paint brush, apply the mixture directly onto the box. (excluding the inside and bottom base). Leave to dry between 30-60 minutes dependent on room temperature. You will know your box has began to dry as the glitter will start to come through and twinkle. You will need to apply two coats of the mixture to the box.
Once dry you can now decorate.
Work on one side at a time starting with the 2 biggest sides!
Take 2 of your sequinned upholstery embellishments and decided how you would like these to be placed on one side of your box. Once you are sure how you want them placed, secure them to the box with mod podge covering both the top and bottom of each embellishment.
Add some small glass embellishments at the same time and sponge over with mod podge to secure.
Once dry cover the entire design with a second coat of Mod Podge Gloss.

Once this side is complete and fully dried, you can now start on the opposite side.
Again place the remaining 2 sequinned embellishments how you want them before finally securing with mod podge as before.
Add your 2 black bows to your design and then cover these with mod podge to secure in place.
Lastly cover the entire design in a layer of Mod Podge Gloss.

When your two main sides are completely dry, its time to start work on the two small sides of the box.
Add a strip of black thick lace so that it runs long ways, down the centre of each off your two sides. You should do this by securing with Mod Podge by adding it directly to the box and over the top of the lace. You can cut any excess lace from your box once it has dried (this is easier as the lace won’t slide about)!

Now leave to dry.
While your box is drying, its time to start work on your handle.
First take the charmless bag charm attachment and your old vintage brooch. I was able to secure the old vintage brooch to the attachment as it had a metal loop attached to the back of it, allowing me to just attach it to the keyring part of the bag charm. If your charm has no loop to attach the bag charm attachment then you can either attach one using some jewellery finishings and a solder or attach to the front of the attachment with some super glue. Once done place to one side for later.
Next, take your old bead and metal necklace and carefully break this in two equal halves, ensuring you break it where the metal connectors are and not the beads.
Use some jewellery crimpers to open the metal loops of the the beaded necklace on each end of your 2 pieces.
Now place to one side with your finished bag charm. We will fit the handles as one of the last steps before finally completing the bag.

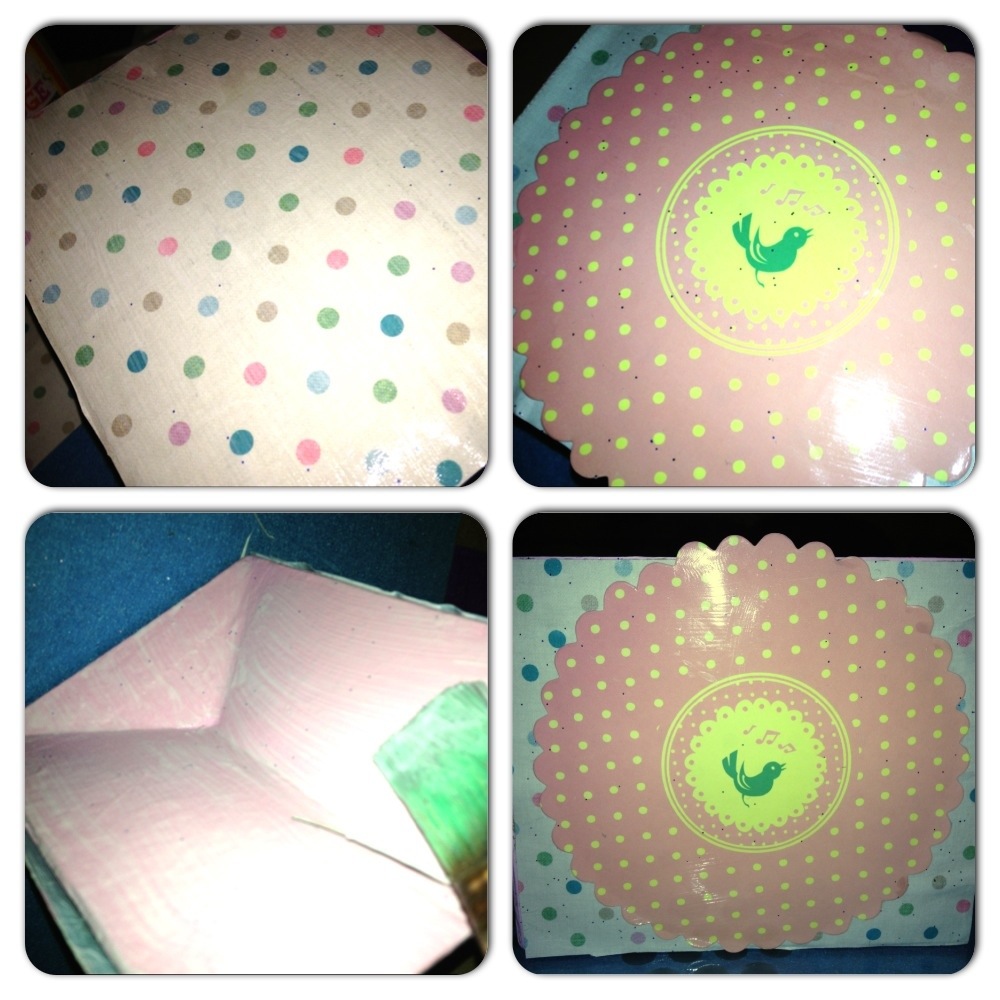
Bring forward your box which should have dried after around 30 minutes or so. With a medium size paint brush paint the entire inner section of your box in black acrylic paint. Leave to dry for 30 minutes or so.
Once dry turn upside-down and paint the bottom of the boxes base in the same black acrylic paint. Leave to dry for 20 minutes plus.

Once all paint is dry take some electric blue felt and cut slightly smaller then your base like so. Now apply to the base using ‘Tacky glue’ leave to dry for a bit before cutting another piece of the same felt to fit the inner base of your box. This will line the box and provide padding for its intended contents. This doesn’t need to be glue in place, it should just simply slot into place but before adding it, you should secure your feet in place.
To secure the feet in place I used a long nail and a cork hammer. Turning the box upside down I banged a hole in each of the bases 4 corners. You will need to apply some pressure as you need to penetrate the felt too. Now push a foot through each of the 4 prepared holes. The feet can be secured inside the box by opening the metal connectors and lying them flat against the box. Once you have done this for all 4 feet, add the blue felt you prepared for the inner section of your box so that it covers the feet connectors and provides some cushioning for your makeup.

Now take one piece of your necklace and thread the metal through one of the holes in your bag, pushing it flat against the box. Now cover the metal directly over the top with 2 strong glue dots leaving on the plastic.
Thread the remaining end through the opposite hole (like that of the original handles) and connect in the same way with the glue dots.
Do the same for the remaining necklace and the remaining 2 holes.

Now cut through the charms loop and tie this to the loop of your bags handle nearest the bags body. Tie a double knot before finally cutting off any excess thread.

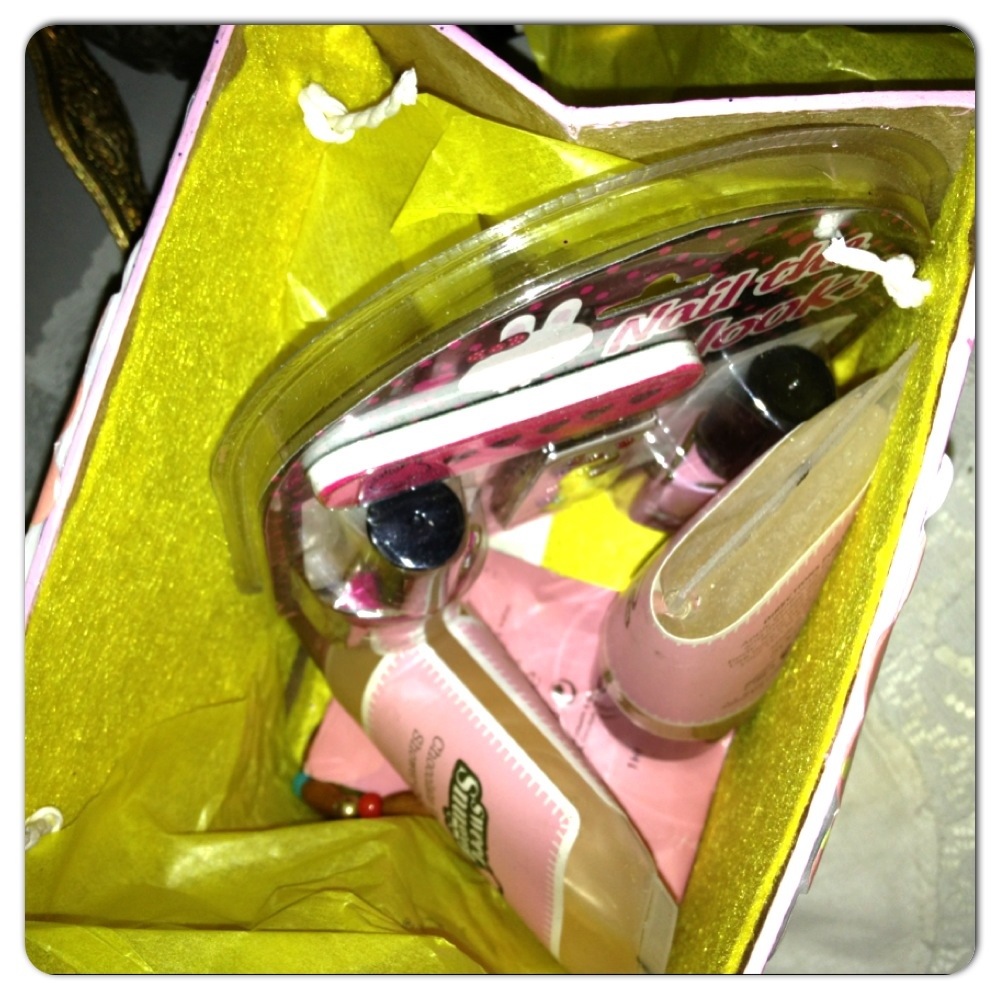
Your makeup bag is now ready to fill and display!

Here’s mine in action!