Vintage Refurbishment – Indian Wooden Letter Rack And Key Hanger

I found this little gem at an auction and knew instantly what I wanted to do with it. Refurbishing smaller items is just as enjoyable as working on those bigger pieces and for this little project I decided on a two colour theme and the addition of some crystals to really shabby it up to its full potential.

20130615-230454.jpg

This vintage letter rack and key hanger is beautifully made from thick wood and features a stunning carved out leaf pattern. Its stickers indicate that the product was handmade in India, though these stickers were somewhat difficult to remove so have now been painted over in Annie Sloan chalk paint. As this rack is made from real wood, certain areas have been untreated (areas between the wood carving) so as to ensure the product was splint free I gave it a quick firm sanding over.

The wood was then wiped with warm soapy water and then covered in a coat of Annie Sloan Paris Grey chalk paint, with the carved cut out areas being left untouched because to these areas of the rack, I would be applying a second colour paint! For this project I decided upon Farrow and Ball ‘Pale Hound’ a lovely cream colour with hints of yellow.

20130701-115957.jpg

I wanted to achieve a real shabby appearance so wasn’t too careful with my painting, only taking more care where the two colours met to avoid overlap. Some areas received two thin coats of paint where other areas were left with one to help produce that old shabby hand-painted effect. It was important that the cut out areas really stood out and remained the racks main focal point. I think the cream contrasts really well with the grey and by making the cut out areas this colour it has helped me to achieve that.

Before applying my white flat backed 4mm crystals I gave the entire piece a good wax using Annie Sloan clear wax and then slightly distressed areas of the rack with 100 grit sand paper before giving it a final coat of wax.

The crystals were then applied to areas of the cut out carved wood, being placed randomly on corners and tips of each leaf.

20130703-031421.jpg

I’m really pleased with the end result and feel that although this was pretty before the refurb, its now more fresh and interesting and will have little problems getting noticed, making a statement on any hallway wall.

20130703-031513.jpg

This piece is now for sale. Remember you can email me to see where I’ll be selling each weekend or buy online using PayPal. Plus I’ve opened an esty shop called “Chic Collective” and I’m in the process of listing all items so be sure to browse whenever desired. Remember refurbished furniture makes each piece a one of a kind, making it truly unique to you, your personal taste and personality.

Note: I’m in the process of displaying my items including vintage jewellery and nicknacks on their own pages within the blog too. These should be ready soon. You can visit my instagram which currently displays images of some of my items.

Email clairelouise.tss@gmail.com for more info.

Little Vintage Refurbs And Upcycles

I’ve currently been working on a few smaller scale refurb projects. These include yet another vintage spice rack complete with lidded jars and a vintage wooden letter rack which I’ll show you in a later post.

20130611-202341.jpg

Well, as for the spice rack which was a plain wall mountable small shelf in a rose wood colour, I simply reprinted the shelf using farrow and ball in the colour Pale Hound. First my shelf was sanded and primed before giving it a total of two coats of the paint. I then applied some clear Annie Sloan wax before giving the entire piece a light quick sanding only applying light pressure with a piece of 100 grit sandpaper. I then applied a second coat of wax that I buffed and left to dry.

The jars were cleaned and the original labels left on. I removed the lids that were made of the same wood and these were painted with Annie Sloan chalk paint in the colour Paris Grey. Two coats were applied before being waxed and sanded in the same way as the shelf they would stand on.

I then used my Annie Sloan paint to paint a small moulding which I brought in the design and shape of a rose from an online source. Once dry I used some extra strong wood glue to apply the painted moulding to the centre of the shelf, before finally adding my jar lids and standing them on their newly painted shelf.

20130611-202229.jpg

Simple… Its complete and now ready to be mounted on someone’s kitchen wall, where just a few hours ago this was just about ready for the bin! The difference a little shabby chic makes is amazing & very easy to create.

This will now be sold and is available now. You can find me at vintage fairs, bootfairs and festivals throughout the summer mainly in London and Kent. But if I’m not at an event near you, those wanting to buy any of the vintage furniture and nicknacks I sell (including vintage jewellery and textiles) can do so by contacting me directly (email address in side bar or contact tab). I often display some of my items here on the blog or via Instagram (Claire Louise Parkinson). I’m in the process of creating a few pages on the blog to display such items and this should be ready shortly so please look out for this.

This Weeks Bootfair Finds

Here’s some bargains I’ve grabbed at a few bootfairs over the past couple of weeks.

Pretty vanity set (brush and mirror)

I brought the set in perfect condition but accidentally smashed the glass in the mirror so will need to get this replaced. I love the floral vintage design its so pretty and cost £3

Sweet silver heart trinket 50p

A very sweet decorative trinket that is ideal to store little bits in. Mines on my dresser and is a current home to a few rings.

20130423-143743.jpg

Metal magazine rack

Love this. Its just my style and fits in well with other furniture I own. Plus it was a real bargain at £2

20130423-143657.jpg

Stirling Silver Rose Pendant

One of my best buys of the week (well, few months if I’m honest)! The pendent is 925 Stirling silver and really nicely crafted into this pretty rose design. The pendant is on a black leather cord that is finished with a 925 Stirling silver clasp. Can you believe this cost me just £1.50. To be honest I don’t think the stall holder knew it was silver as she informed me it was a costume piece of her daughters.

20130423-144708.jpg

Basque Style Jewellery Holder

I usually find that these holders that have been created to hold jewellery are usually really cheap and tacky looking (especially those with the butterflies etc)! However, this is quite the opposite. Its manufactured by a brand called Two’s Company which seems to be more known to the states. This particular holder is for necklaces and its really heavy in weight. I love the colour and detailing. The shoulder area has this stunning metal detail and the body that is this pretty pinkish gold colour has pretty detailing that is really subtle and delicate. I paid a fantastic £1.50 for this piece and was more than pleased with that.

20130423-143925.jpg

20130423-144011.jpg

Vintage Jar (maybe mustard/sugar jar) with silver Plated Lid

I found this rather nice glass/crystal jar with a silver plated lid. The lid is marked EPNS and although very pretty needs a little cleaning to remove tarnish. The jar was a bargain at just £1

20130423-144055.jpg

Branded hair and beauty bargains

At another bootfair I grabbed this Toni & Guy travel selection consisting of straight and sleek shampoo, conditioner, heat defence spray and a rubber shine styling product. These haven’t been opened. They came in a tony and guy straighteners zip holder so am guessing they were once part of a straighteners gift set. I paid a reasonable £2 for the lot.

20130423-143823.jpg

Other items I brought from the same sale included

New- Micro Injection Lift Fusion
New- Lancôme self tan lotion
New- Mou- Hair texturizer
New- Lancôme nail polish
New- YSL Lisse Expert

All for £20

20130423-143627.jpg

Vintage Bedroom Furniture Refurbishment Using Annie Sloan Chalk Paint

20130221-160949.jpg

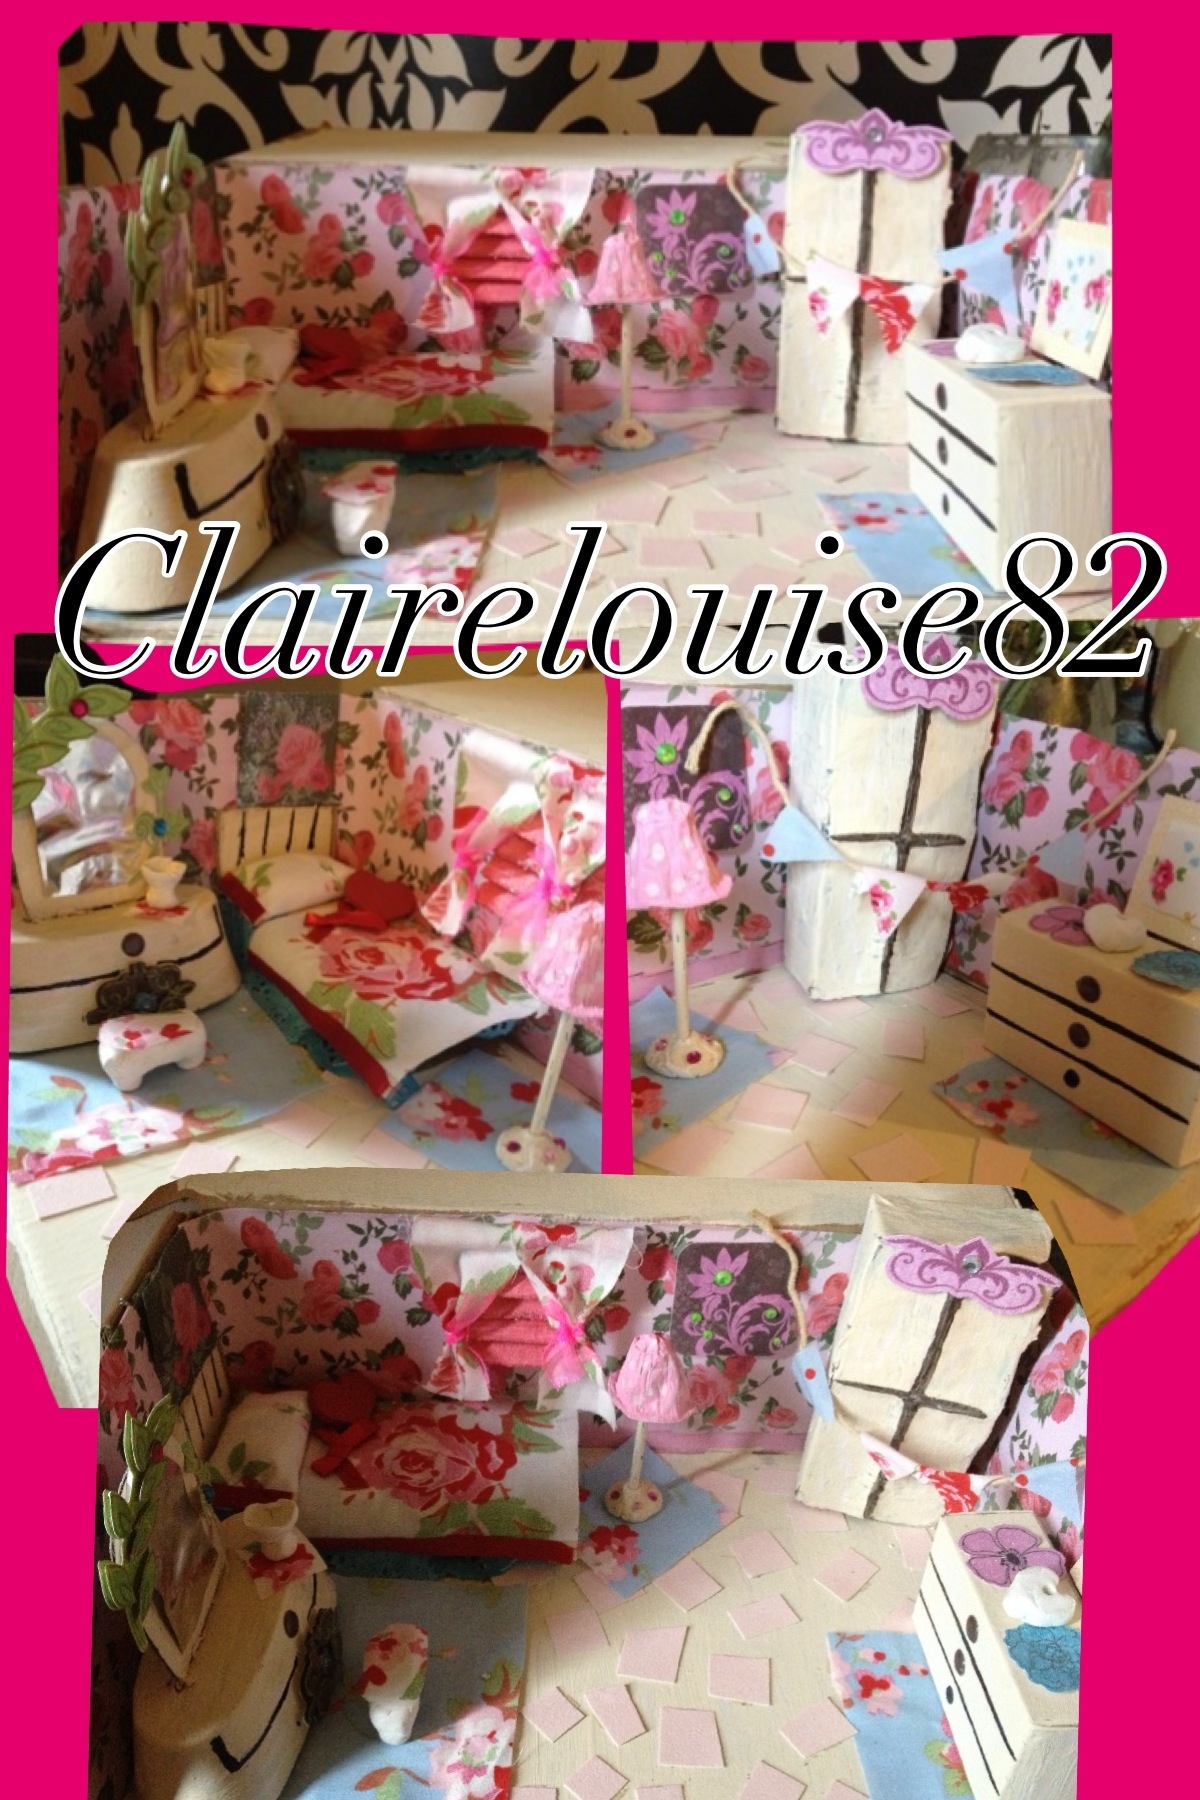
As some of you may have guessed I’m really into everything vintage and shabby chic so decided to refurbish some old furniture pieces to create a shabby chic inspired bedroom set.

I brought the pieces of furniture I wanted to use from a British Heart foundation store that only specialise in furniture and electrical goods.

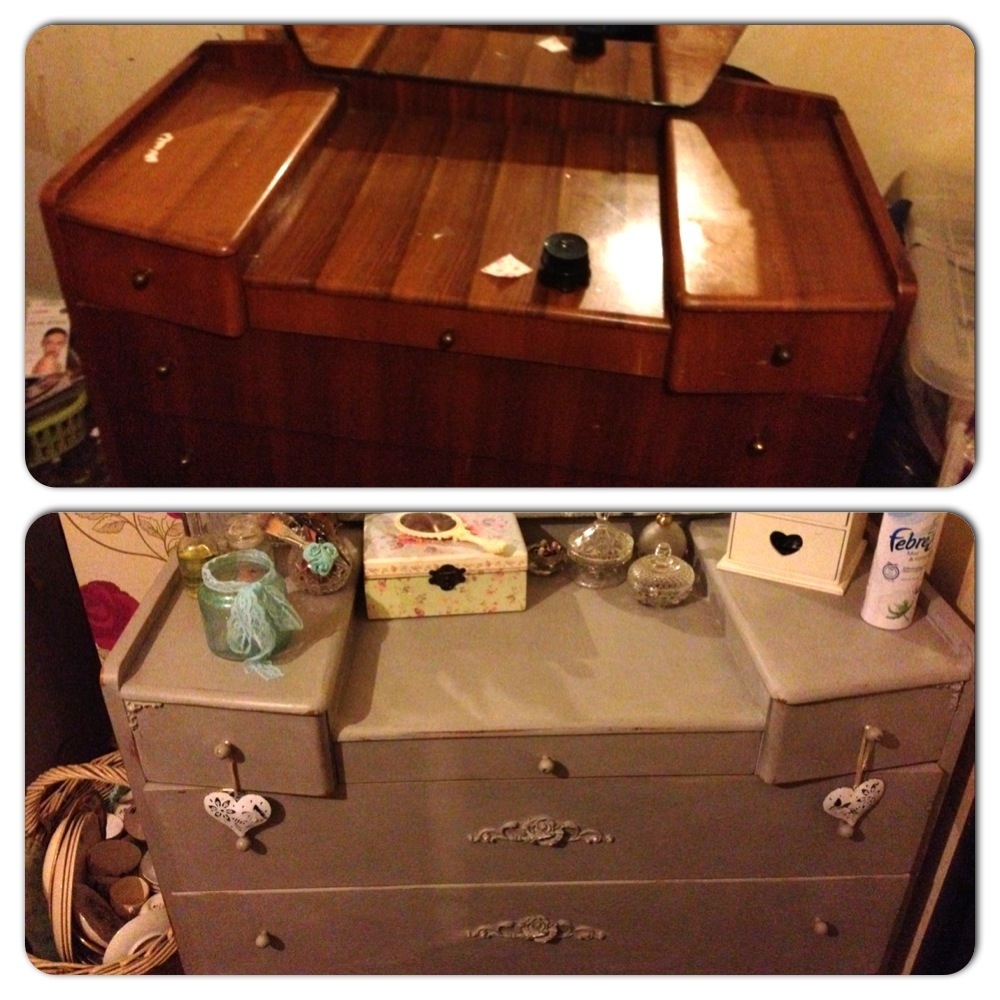
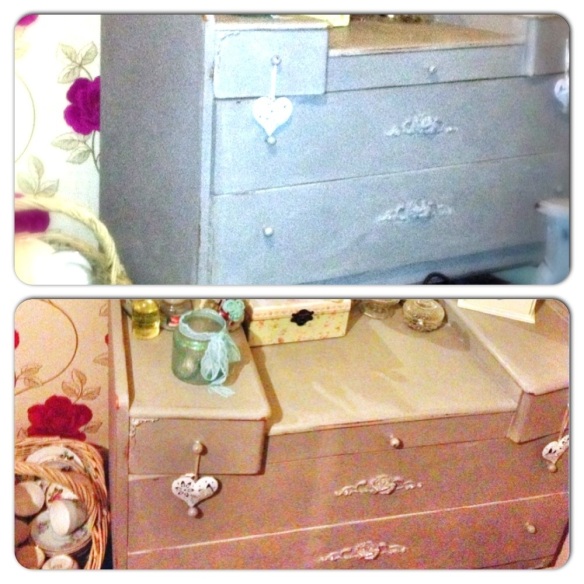
I brought a dresser that looks 50’s to me. It was dark wood with lots of drawers and a huge mirror! The dresser was priced at just £25

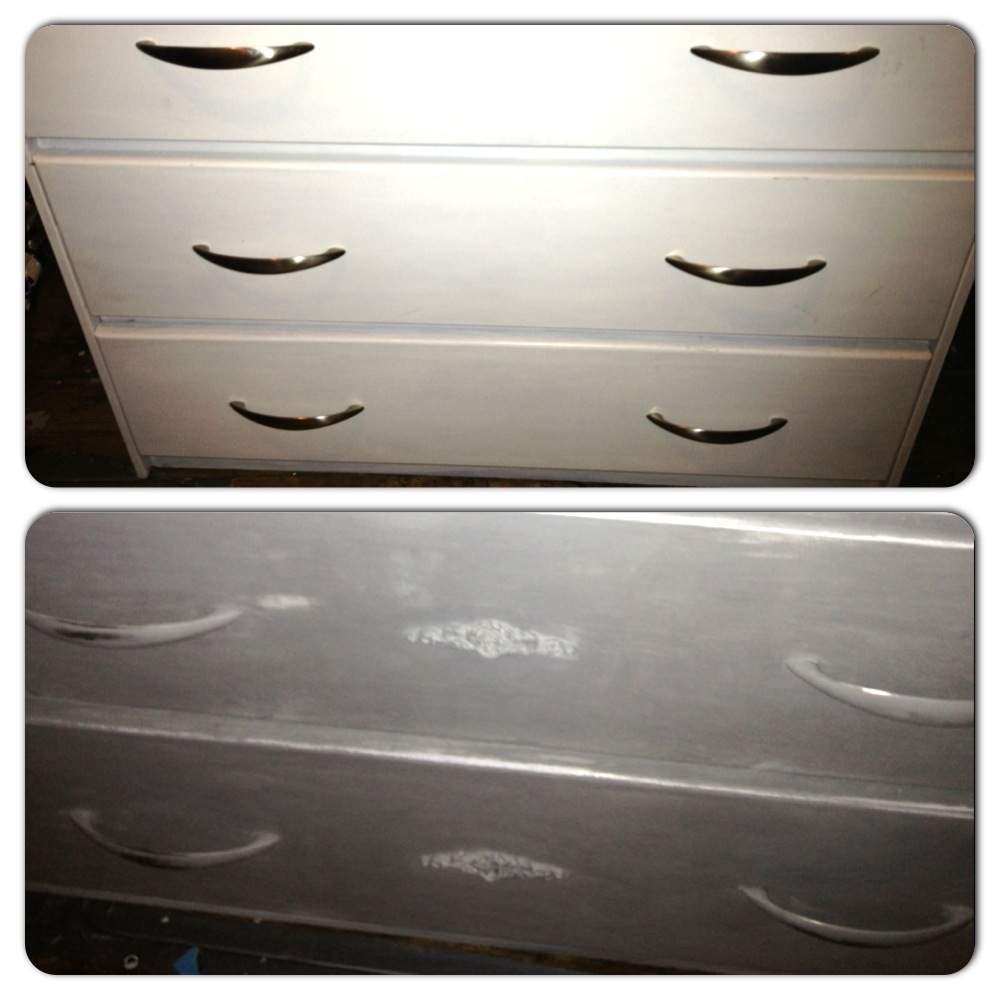
I also brought a chest of drawers that somebody had painted white. These again are rather spacious with 3 really large drawers. The chest of drawers was also a steal at £25

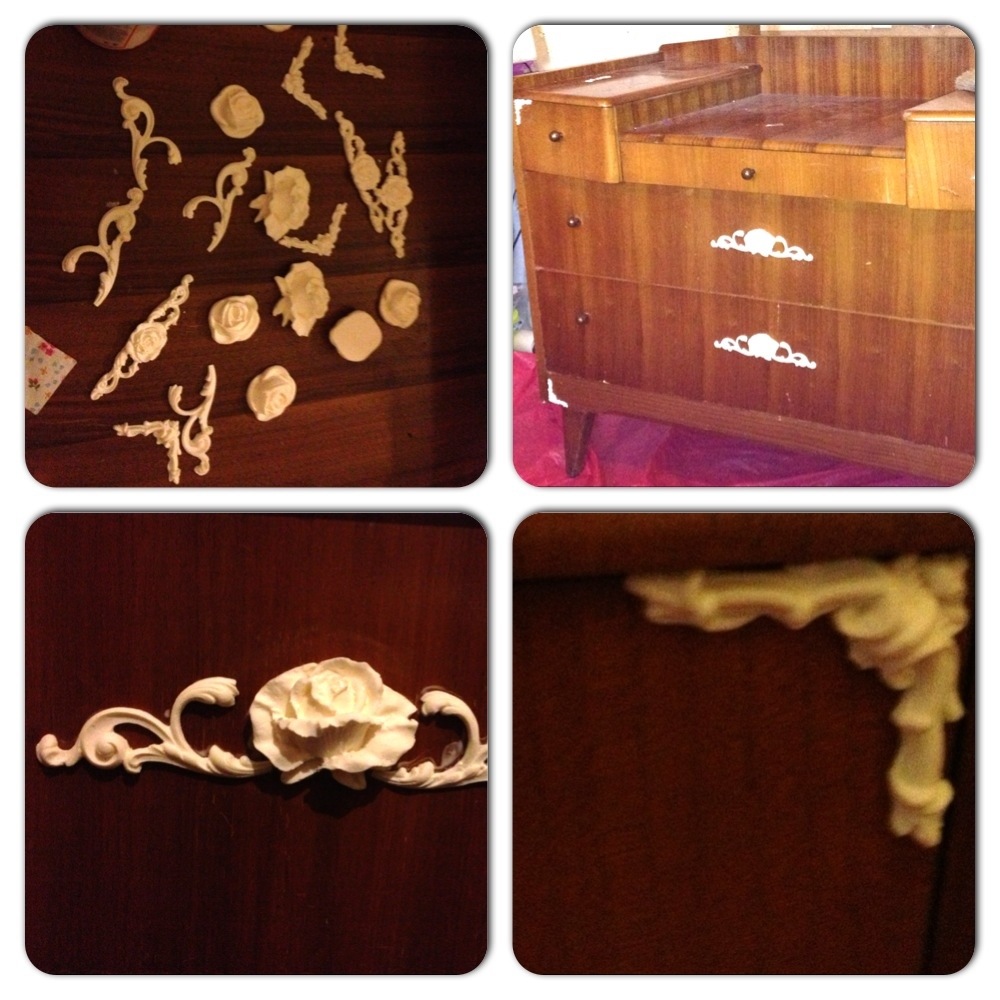
I also brought for the bedroom some white bedside drawers. These had some pretty mouldings on the front but one or two were missing. It also had some pretty porcelain handles. The bedside drawers were an amazing bargain at just £5.

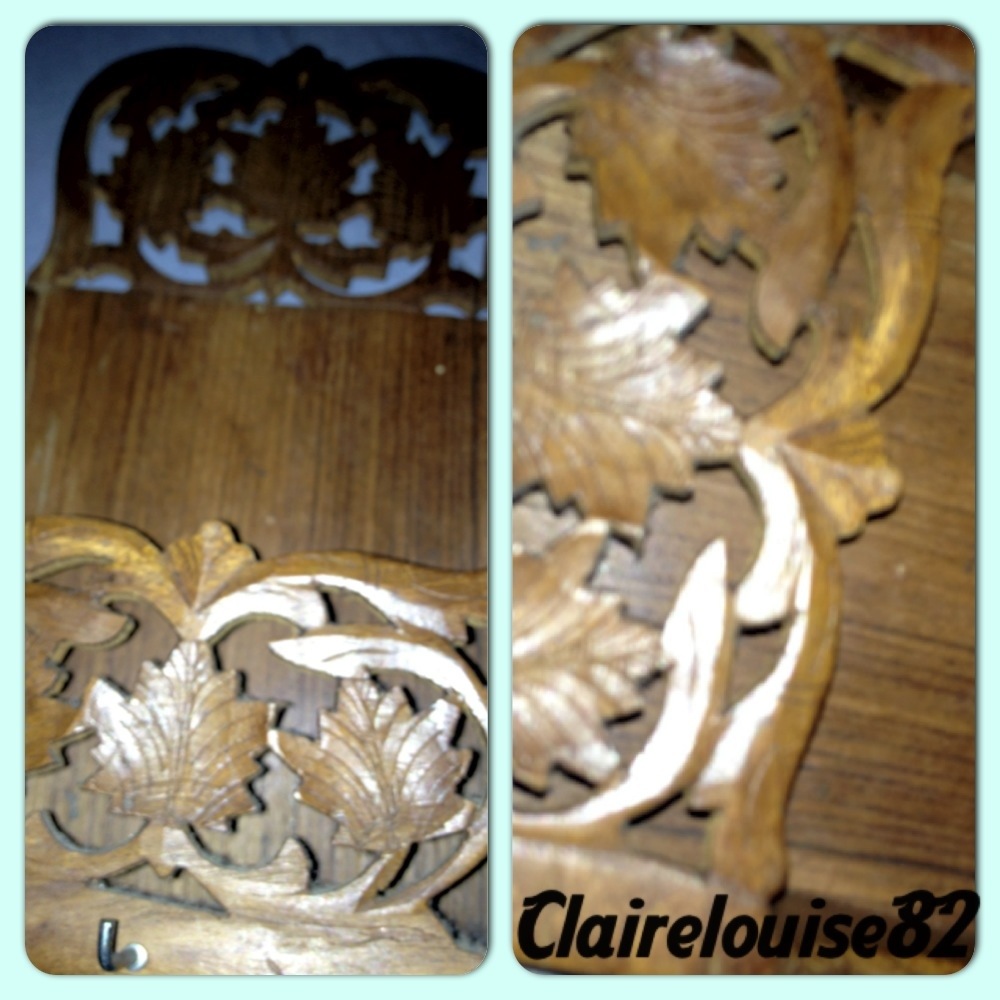
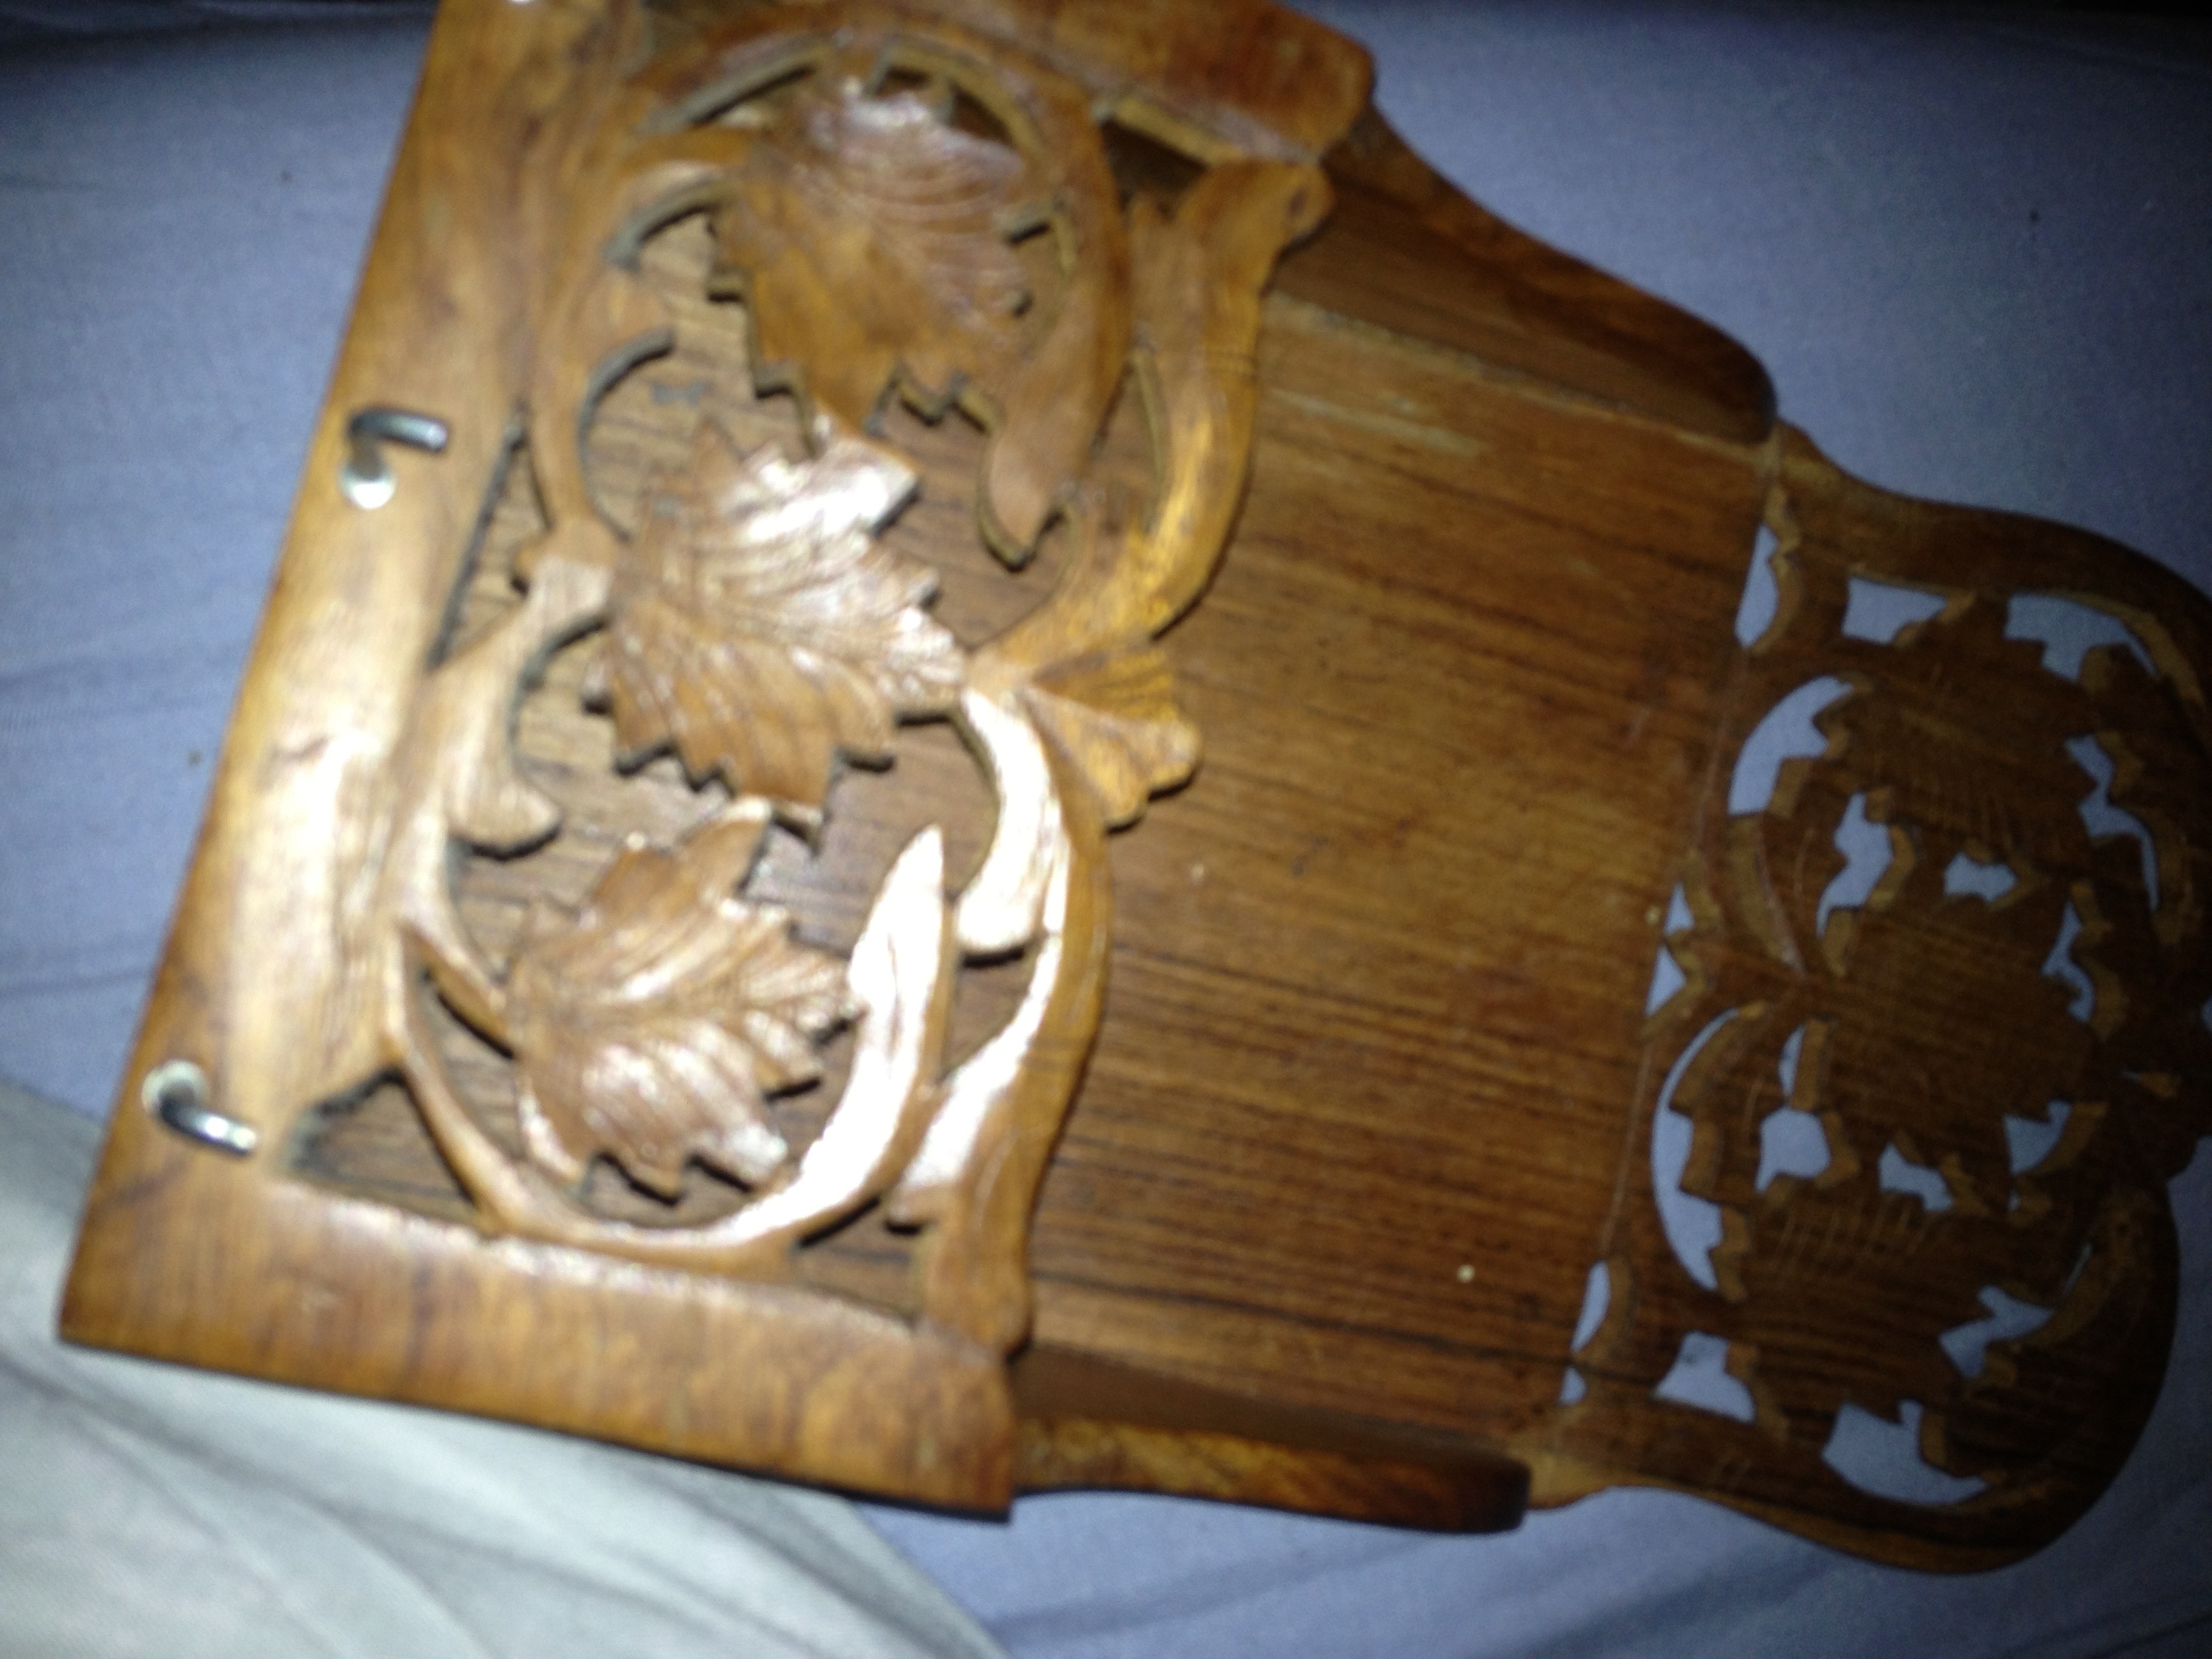
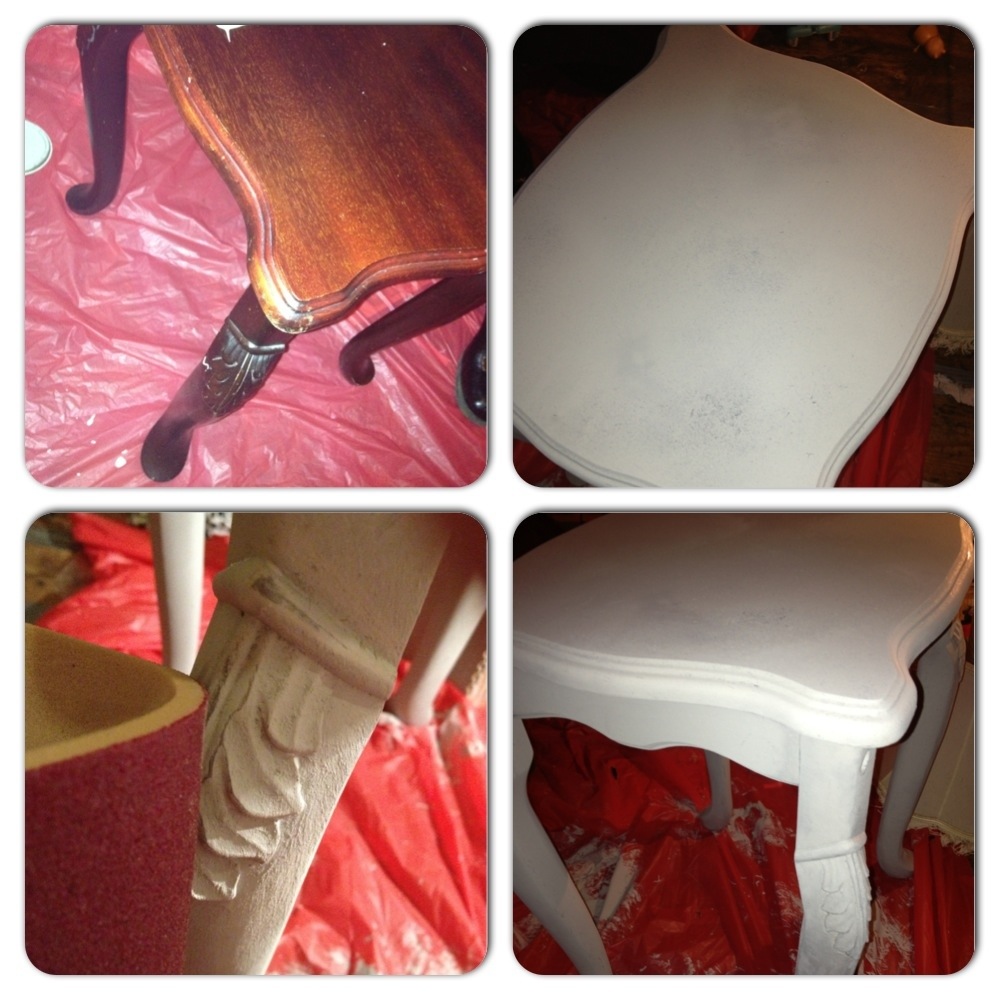
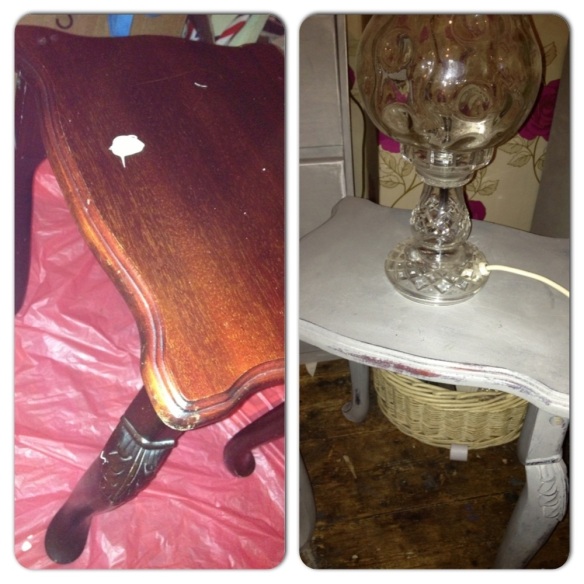
The last item I brought was a vintage French Mahogany Side/Lamp table that used to form part of a nest of tables. This again cost me just £5.

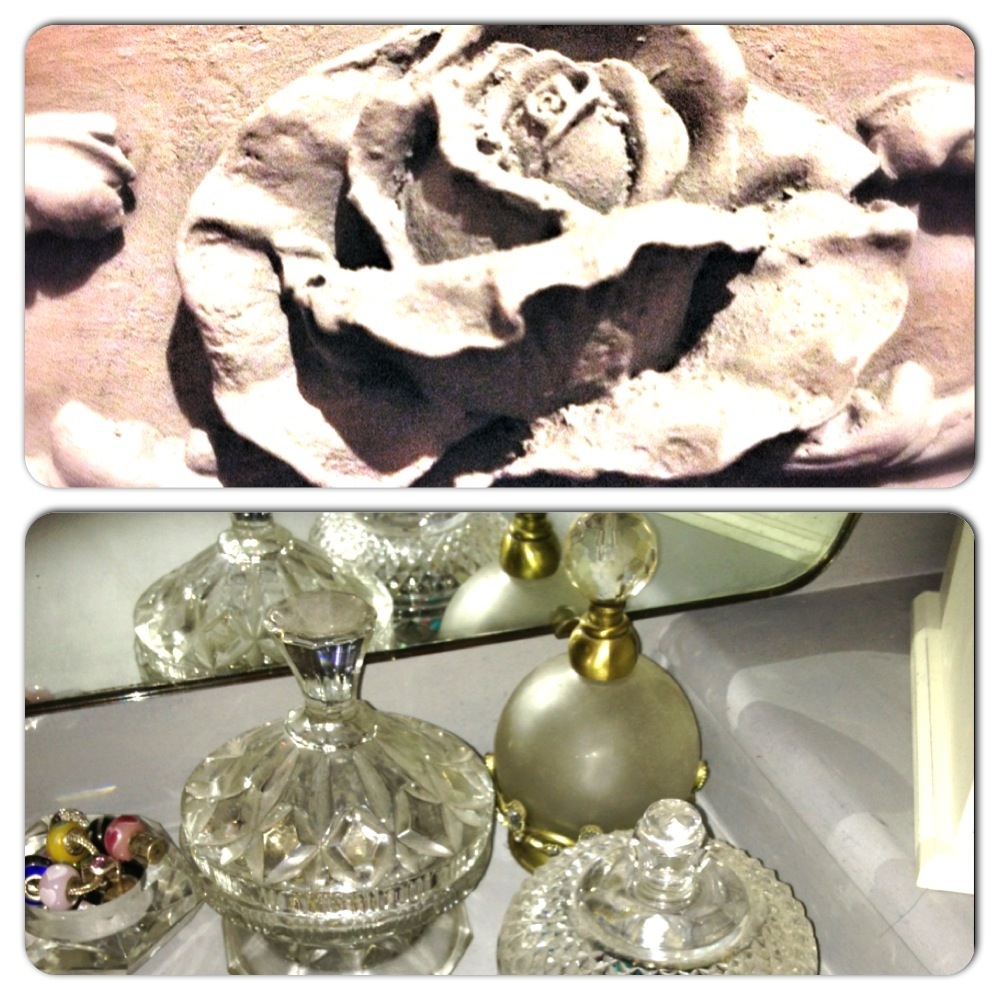
Feeling inspired by the mouldings on the bedside drawers I went on a hunt for some French inspired mouldings on the net. I found some lovely ones being sold by Chic mouldings via eBay. With this I purchased 4 floral corners for £3.49, 3 Rose and Ornate Scrolls for £6.99 and finally 2 large Rose and Ornate Scrolls for £12.99.

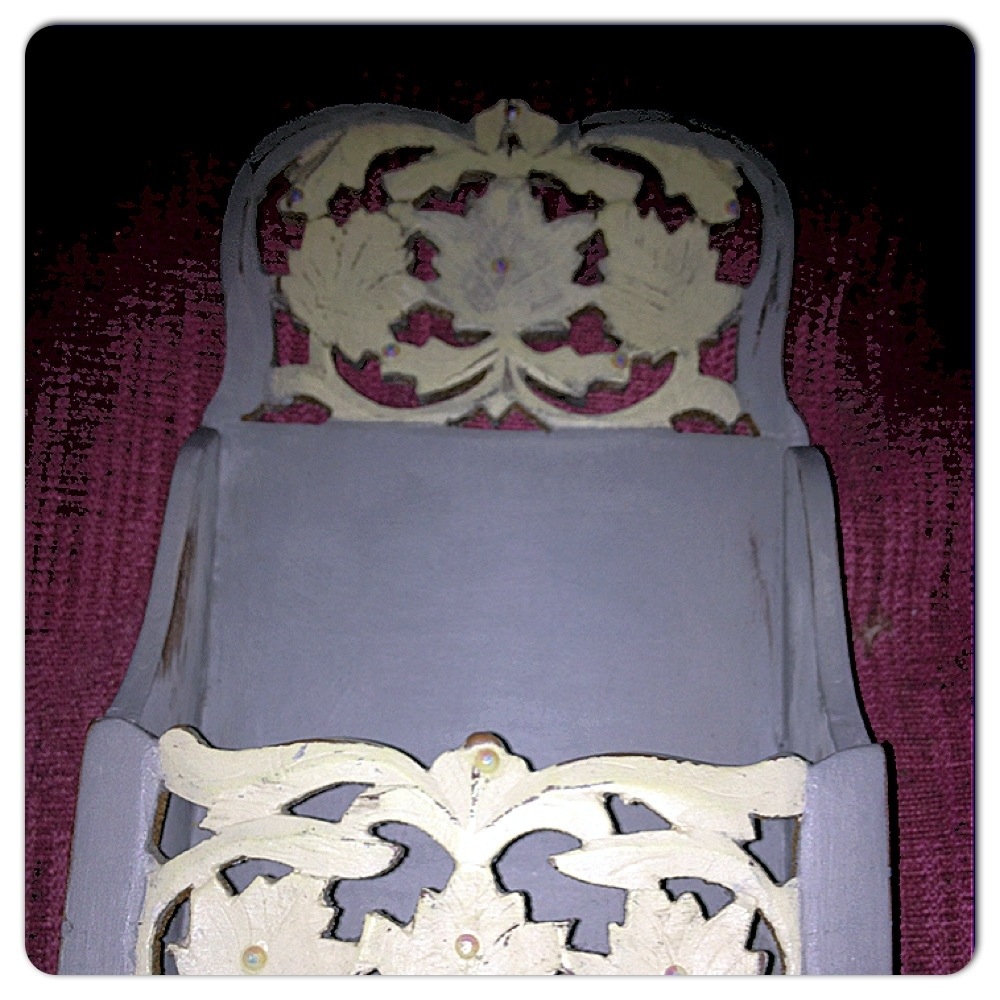
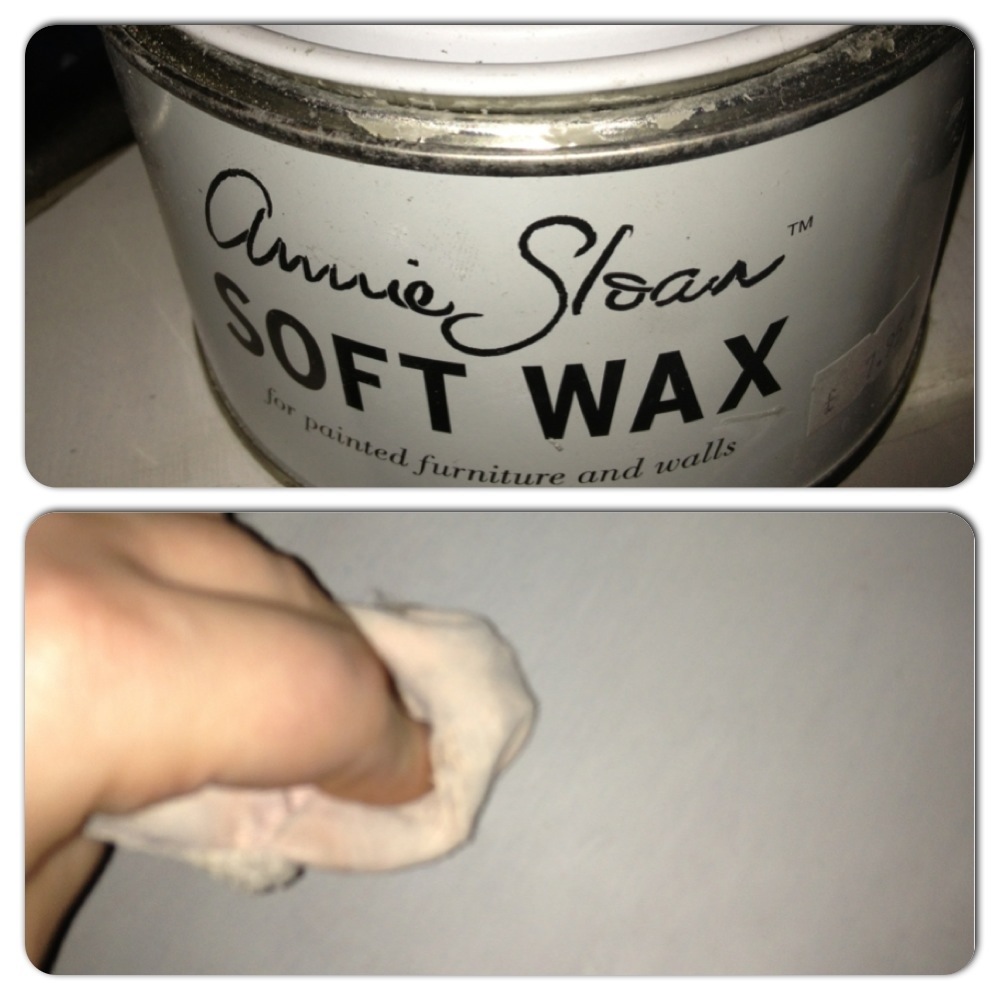
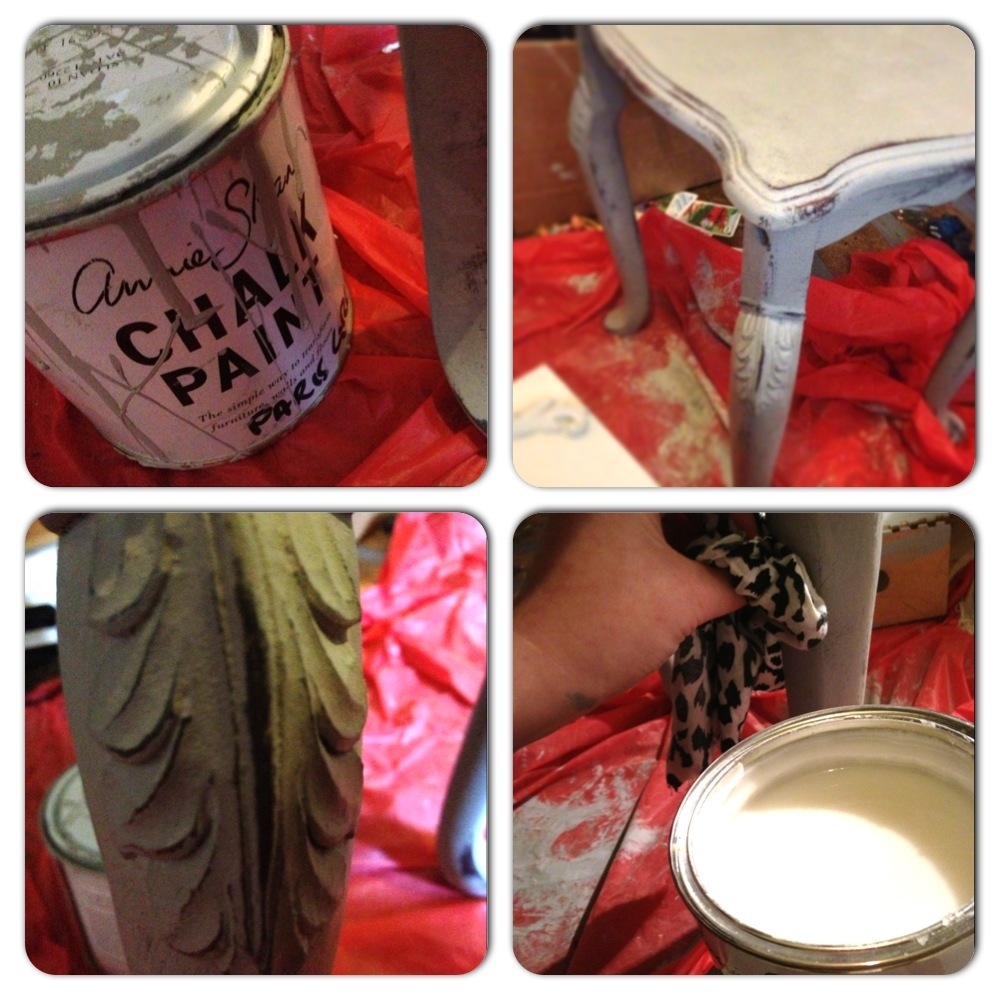
My next decision was what paint to use. Having done a lot of research on the net I finally decided on Annie Sloan Chalk Paint in the colour Paris Grey. Luckily for me there is a store close by who sells the paint as these are only sold in selected stores. I also purchased Annie Sloan Clear Wax.

20130221-161044.jpg

I’ve heard many people state how expensive Annie Sloan paint is, and at £17 per litre at first I would have agreed. However I’ve used just over half a litre tin on all four of my items. All but the lamp table received 2 coats of paint. The wax was priced at around £7.99 and again I’ve used about half a tin. I really can’t believe how far this paint goes!

The best thing about Annie Sloan paint, that I’m sure anyone would tell you, is there is no prep work, the paint sticks to any surface even those that are highly varnished.

The one thing I needed to do was brush and wash down all my furniture to remove dust and marks.

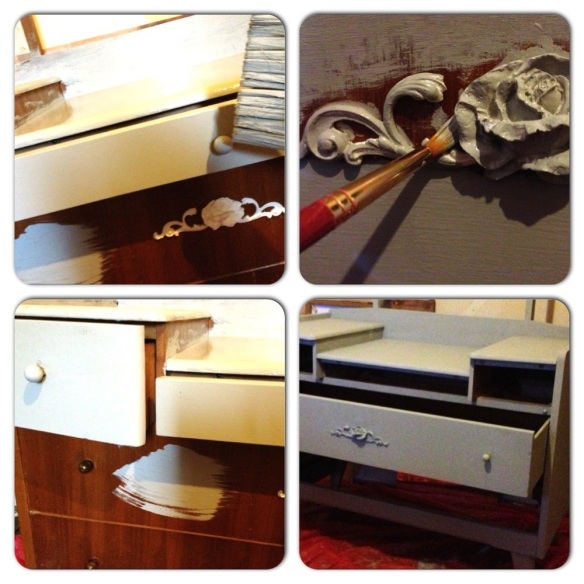
As this was my first time working with this paint I first tried it out on the smallest item… The side/lamp table. I used a big brush from the Harris range at homebase and a smaller brush that I use when using acrylic for the hard to reach areas, then I got going. Chalk paint is really thick and you can add a little water. I didn’t really need to this for the side table but the longer I had the paint the thicker it became so on some of the other items I just added a little water to my brush.

20130221-155038.jpg

The paint went on really easily and gave good coverage. If your using this paint for the first time you will discover just how amazingly fast this stuff dries. This is why its important to ensure you haven’t got any drip marks, keep checking as you paint each section. I loved how the table looked with just the one coat of chalk paint and wanted a lot of dark wood to show through once distressed.

20130221-155230.jpg

A lot of people wax there wood, distress then wax again. I only needed to use this technique for the small bedside drawers as I found these harder to work with. The paint came of more easily so I decided to wax before distressing then wax again. Nonetheless I didn’t need to do this for the table, dresser or chest of drawers. So once my table was dry I used some 100 grit sandpaper to distress. I paid particular attention to the corners of the table, the feet and sides.

20130221-155309.jpg

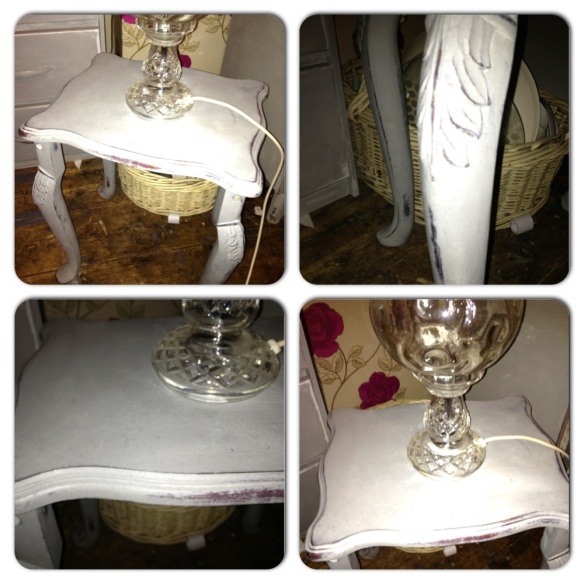
Once distressed to my satisfaction I used an antique soft dresser brush (that I found in a charity shop) to remove any dust. I then used a cloth to apply my wax working section by section. I applied the wax with the cloth and then used an old washed body power puff to buff where I had waxed.

20130221-155608.jpg

Its easy to tell when your wax is fully dried as it looks patchy as certain areas dry ahead of others. The darker areas are those that are still wet.

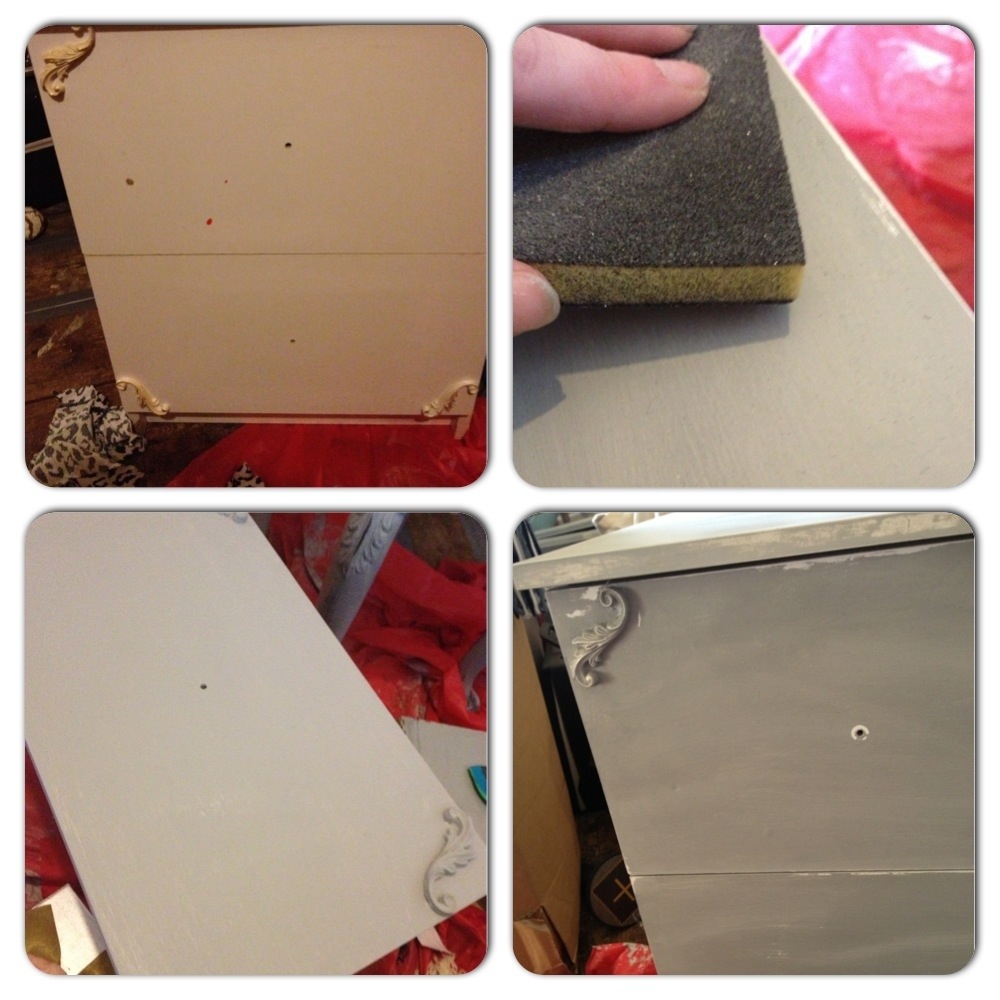
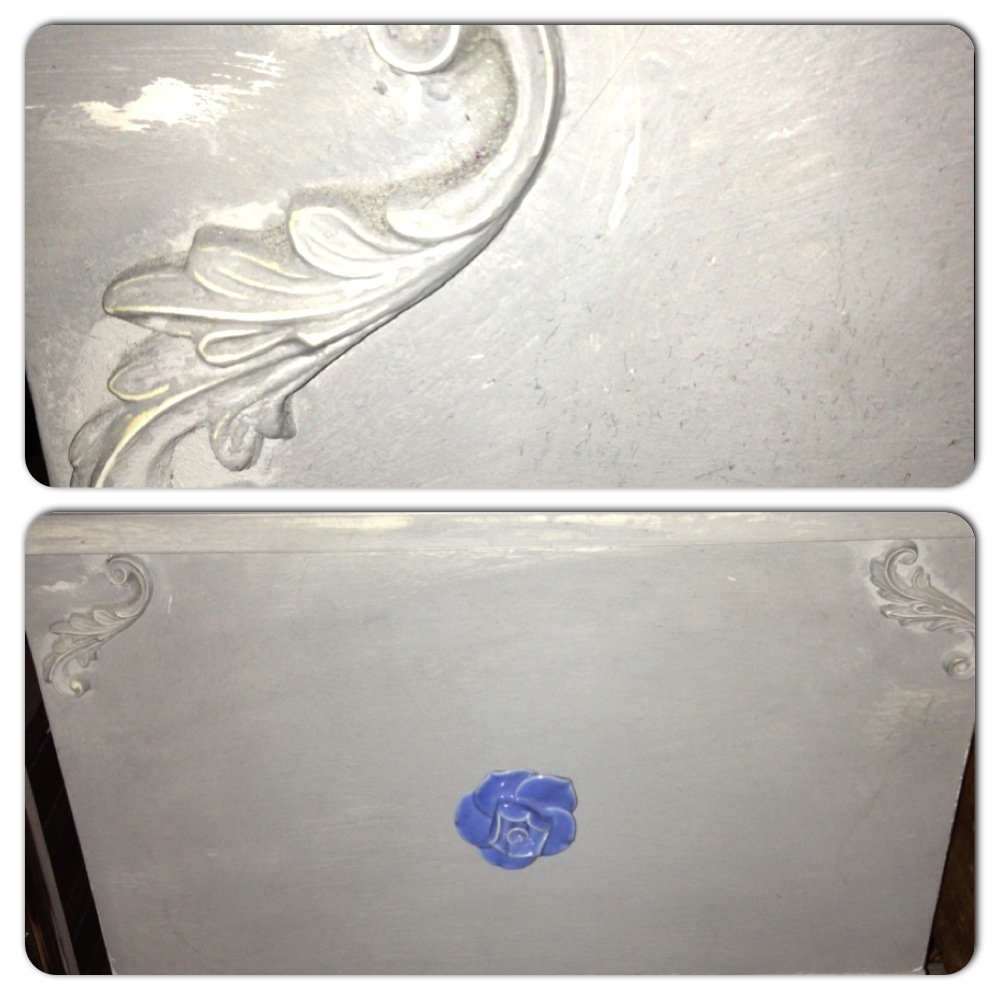
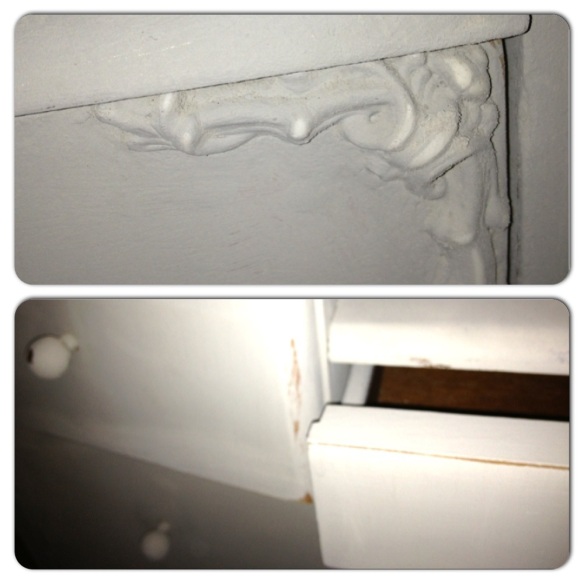
Before painting my bedside drawers I used the side of a wallpaper scrapper to remove the mouldings. I then took four of the removed mouldings and with some mod podge I stuck 2 to the top corners of the first drawer and 2 to the bottom corners of the second drawer. These were dry and strong within about 30 minutes.

20130221-155750.jpg

20130221-155840.jpg

As mentioned my bedside drawers were much harder to paint simply because the wood wasn’t of such good quality. Despite the fact I liked the handles I removed them and replaced with some lovely floral handles I brought from eBay. The bedside drawers were painted with two coats of paint and I added a little water to my brush as the paint had become quite thick. The bedside drawers got waxed both before and after distressing.

20130221-160019.jpg

20130221-155917.jpg

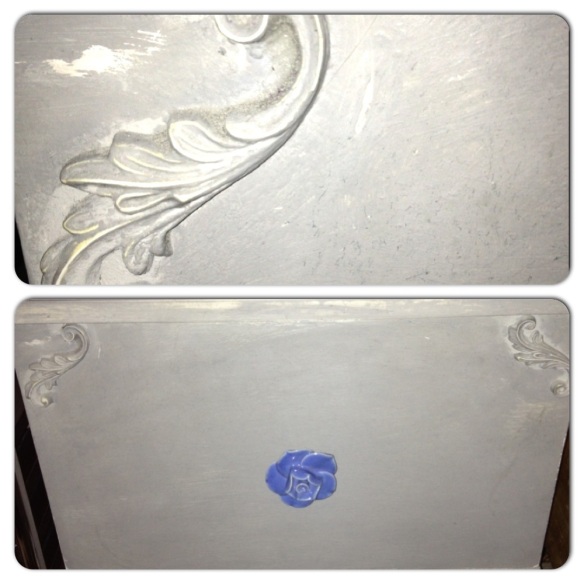
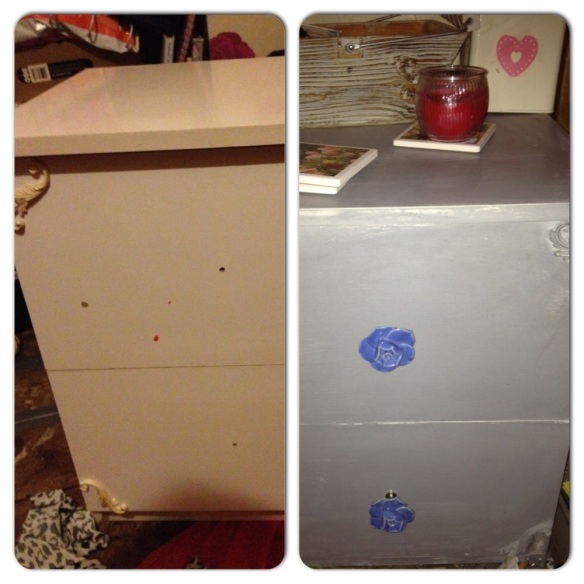
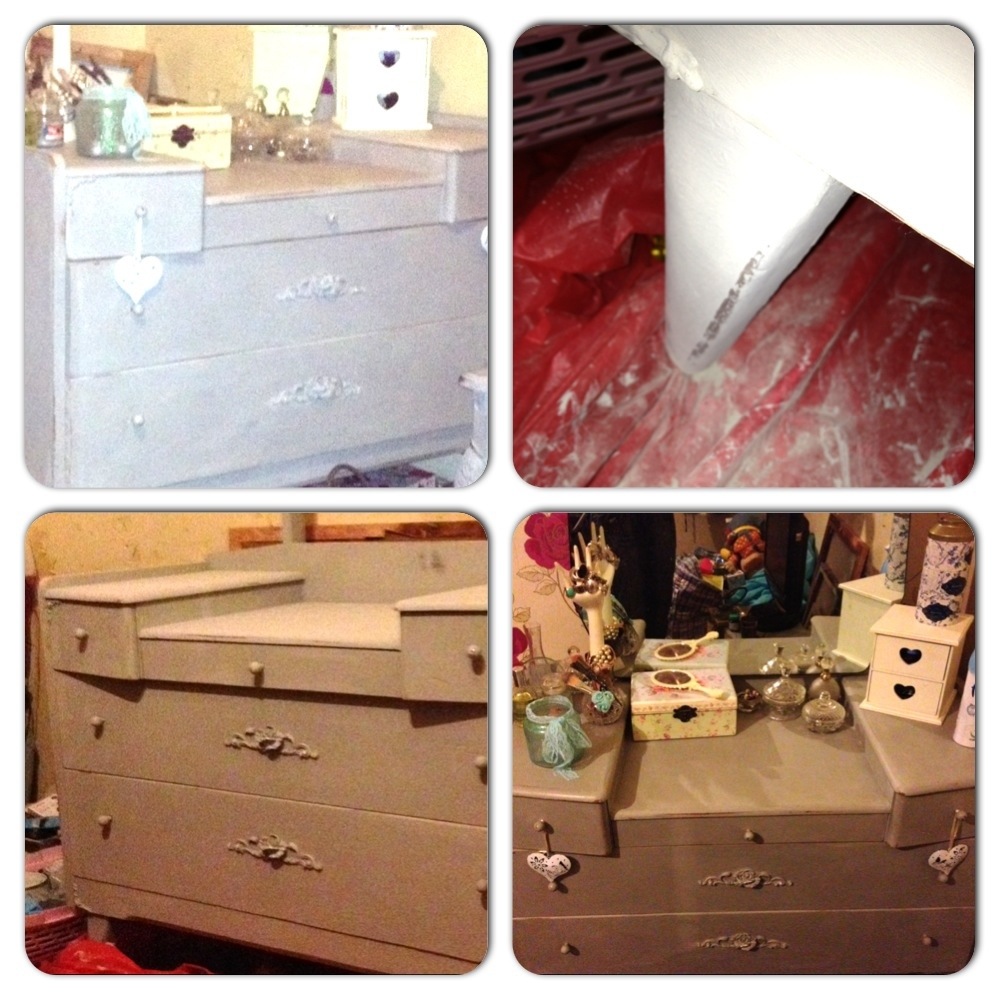
As for the dresser I removed the mirror and then using mod podge to stuck the 4 floral corners onto the dresser and then I took my large rose and ornate scrolls sticking one each in the centre of both my large drawers. I applied two coats of paint to my dresser letting them dry for around 40 minutes in between coats. I didn’t remove the hardware as despite ordering some 8 beautiful crystal handles from eBay I was still unfortunately waiting on them arriving. Instead I just painted over the handles it already had attached.

20130221-160058.jpg

20130221-160139.jpg

I had a lot of fun distressing this piece and was really pleased with the final result. I found this one took quite a bit of waxing but it was worth it.

20130221-160247.jpg

20130221-160352.jpg

20130221-160429.jpg

20130221-160500.jpg

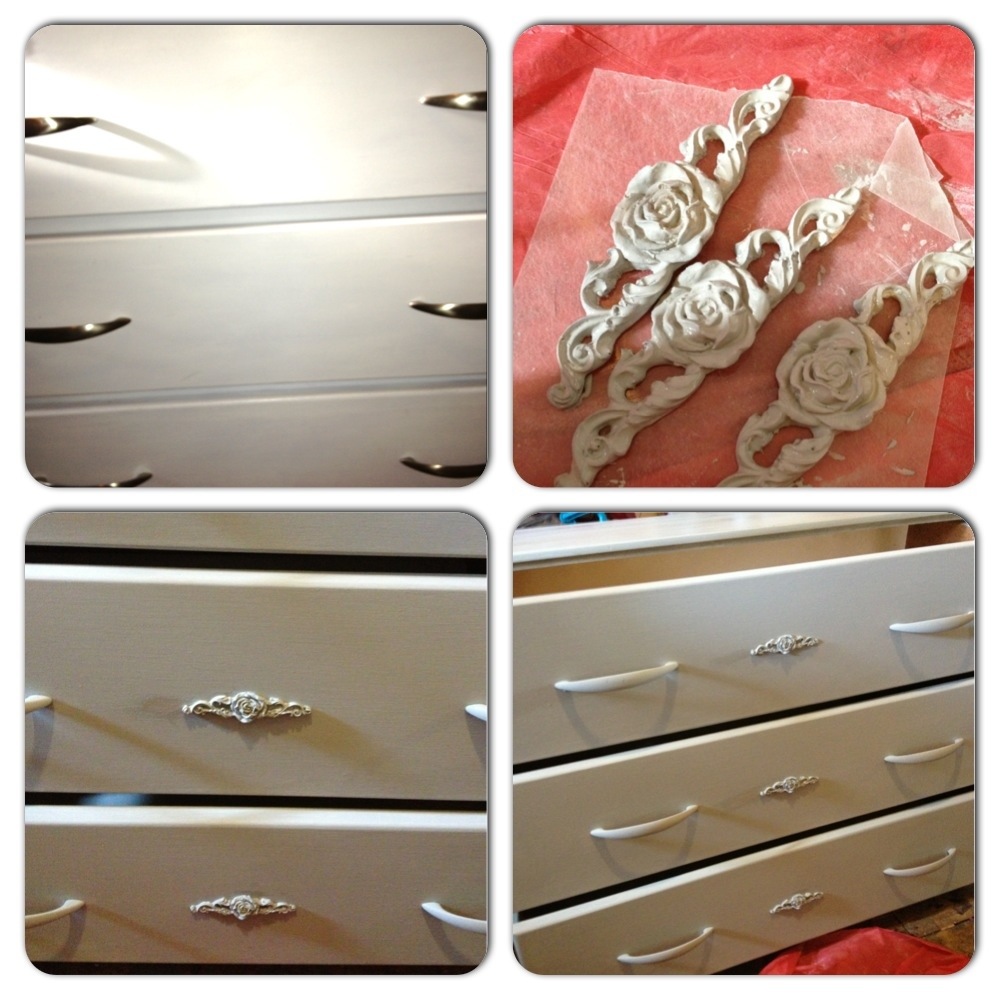
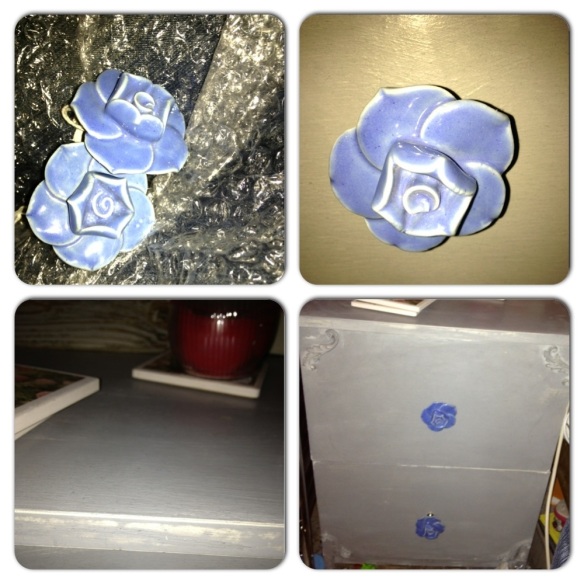
As for my drawers I added my 3 small rose and ornate scrolls to the centre of each draw but decided to paint them first. I worked in the same way as I did my dresser only I was more gentle when sanding as I discovered the previous owners had painted these lilic before they painted them white and wanted to ensure it was only the white that was visible when distressed.

20130221-160555.jpg

20130221-160638.jpg

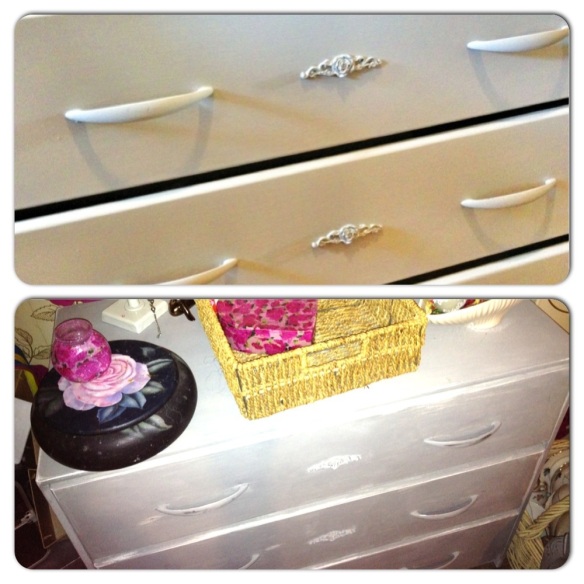
I painted over the metal Crome handles, distressing lightly as to allow some of the Crome to show through.

20130221-160706.jpg

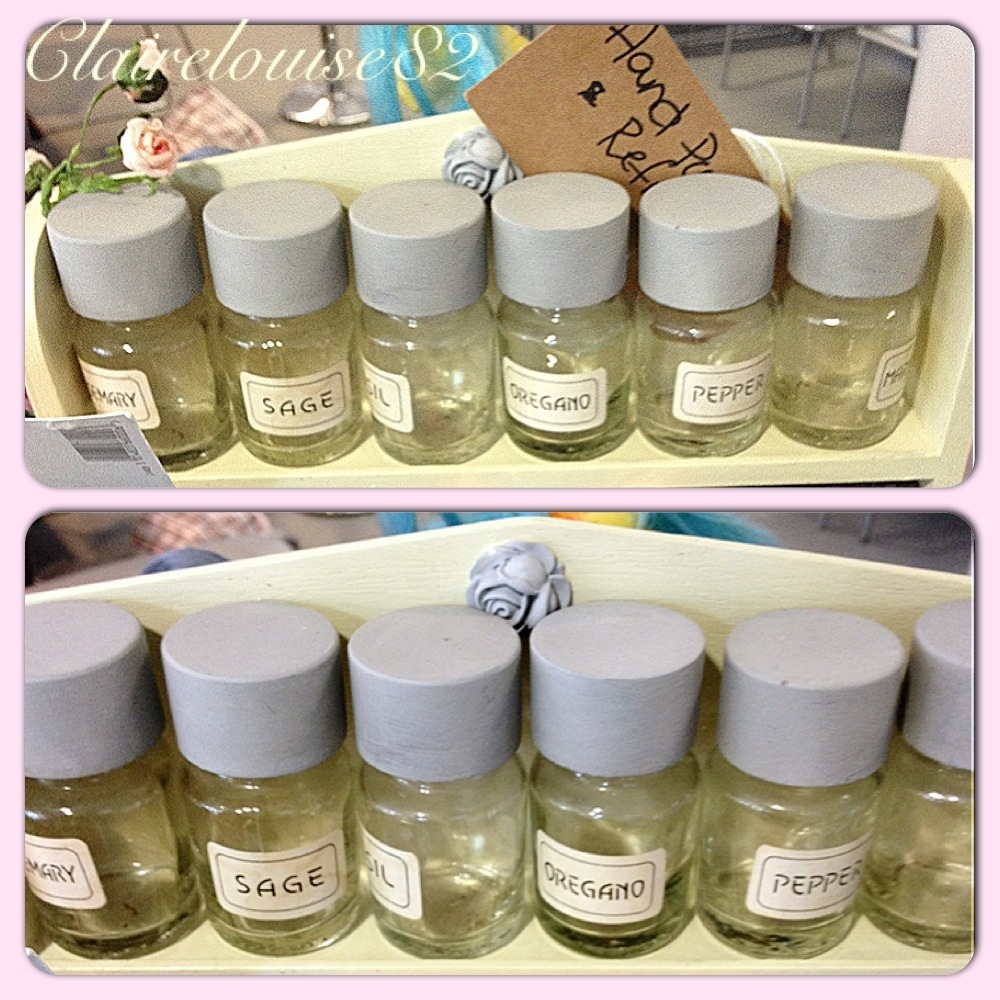
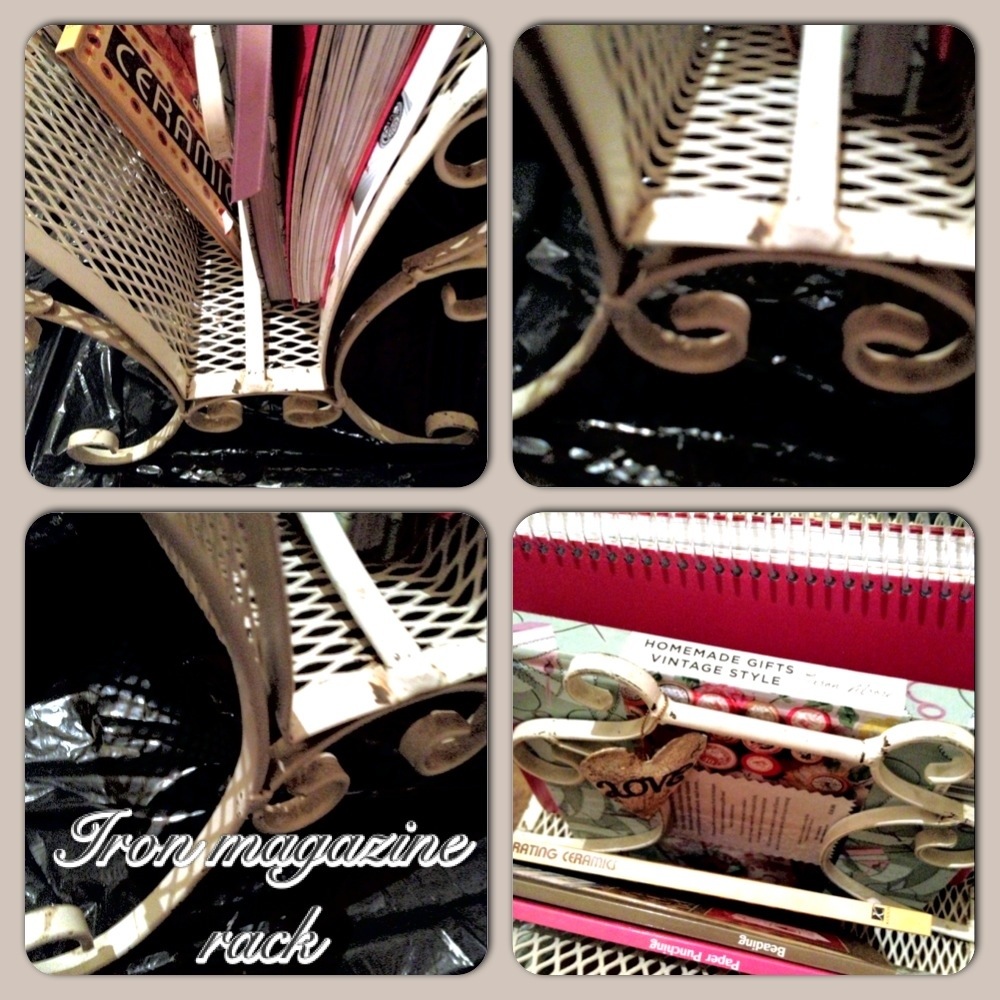
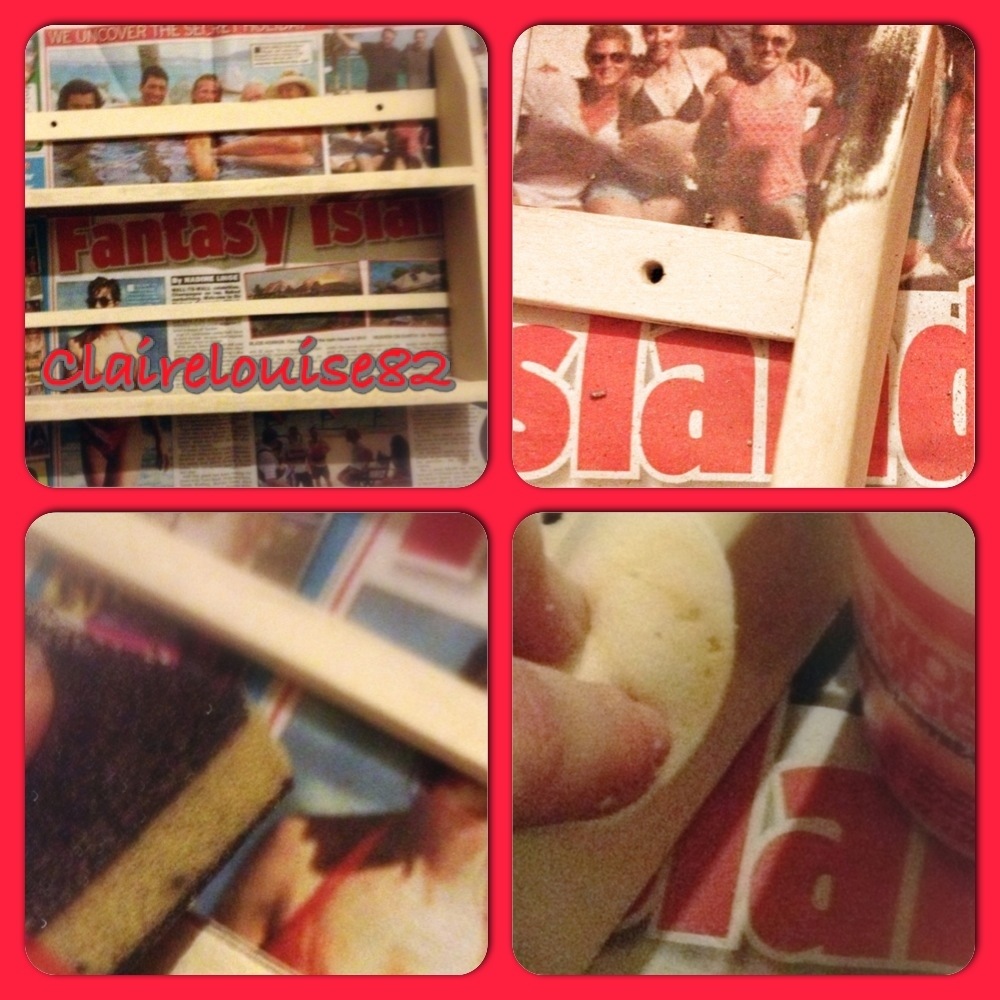
I had so much fun working on this project. I absolutely love the results and now want to paint all that I own and more. I’ve brought a stunning mahogany magazine rack that I want to refurbish. I’m also planning on using some dark wax for this one… I’m getting brave!

Upcycle – Shabby Chic Spice Rack & Jars

Now we all know how much I love to find treasure at jumble sales, bootfairs and charity shops. Its become a great little hobby of mine, I must admit.

A few weeks back I discovered a wooden spice rack with 12 cute glass jars, all with horrible wooden lids. Now, this definitely wasn’t the prettiest of spice racks, but somehow I had my shabby specs on & could see past its less than attractive appearance! In fact, this shabby dark rack and its jars were now a vision of beauty within my mine and for just pennies (50 of them to be precise) I just couldn’t walk away without it.

So, the spice rack became another of my vintage finds, one needing a bit of tender loving care! So a plan unravelled in my head. One involving antique creams and bright reds, gingham & spotted hearts. I was gonna transform this spice rack into something gorgeous.

20130202-115910.jpg

Here’s what I used…

Antique white acrylic paint
White acrylic paint
Red Santa acrylic paint
6 red gingham wooden hearts (self adhesive)
6 red spotted wooden hearts (self adhesive)
Mod Podge (Gloss)

Tools…
Large & Small paint brushes
Sand Paper (100 grit)
Sponge (make up sponge for mod podge)

Sadly I forgot to take a picture of the old spice rack all set up and looking horrid. However from the step by step images that include all the parts (yes, rack, jars and lids) you can clearly see why it needed an upcycle.

first step was to prepare the rack and wooden lids for painting. I did this by first washing my wood with warm soapy water. I dried them fully and then gave them all a good rub over with the sand paper. The last step was to remove all traces of any sand paper dust with a small brush before finally giving it another wipe over with a damp cloth.

20130202-120055.jpg

Once my rack & all 12 wooden lids were all clean and dry I was technically ready to apply a prima to my rack, however, I felt that it wasn’t really needed so instead I skipped this step and went right on to applying my first coat of antique white paint.

I used the biggest brush to paint on the paint but used the smaller brush to paint the racks corners and edges.

If you want to do this then Its important to remember to paint just one thin layer of paint, leave to dry and then paint on another layer this way you won’t end up with drip and brush marks.

I ended up giving my rack 4 coats of the antique white paint and did start to wonder why I ever thought I could skip painting them white beforehand so didn’t make the same mistake with my lids.

20130202-120324.jpg

With this I painted my 12 jar lids in 2 coats of white paint as a base coat and left to dry.

Once my white paint was dry I then went on to give my 12 jar lids 2 coats of ‘Santa Red’ letting them dry for around 20 minutes between coats.

Once dry all lids got a coating of mod podge that I applied with my thick makeup sponge.

20130202-120427.jpg

The next step was to add some character to my rack and shabby it up a little. With the 100 grit sand paper I rubbed it along the edges of my stand, removing some of the paint to reveal the dark wood underneath. This gave the impression of age, making the rack look as though it had encountered natural ware over the years.

Next I made sure all dust was removed from my rack with a brush and a damp cloth. With my sponge I then gave my rack a layer of good old mod podge.
Mod podge is great and will give my rack a nice coat of protection.

20130202-120623.jpg

Making sure all jars were nice and clean I then applied the 6 self adhesive gingham hearts and 6 spotted hearts to the middle of my 12 jars. I gave these a layer of mod podge for protection.

20130202-120825.jpg

20130202-120923.jpg

Finally I lined all 12 jars onto my rack, gingham, spots, gingham… and so forth and then stood back to admire.

20130202-121005.jpg

20130202-121046.jpg

At this point you can add pretty ribbon or thread 12 miniature tags through some twine, adding the names of you’re spices to the tags before looping them over the jars. This is optional! I didn’t feel the need to do this as I’m pretty good at knowing whats what… Plus if I’m ever in doubt a quick sniff always sorts it out.

So… There it is… My antique white spice rack with a splash of Santa red. I’m really pleased with the results and the difference is actually really big considering I’ve only used a few items to help form this transformation.

20130202-121128.jpg

Talking of transformations, I’m currently refurbishing a number of furniture items I’ve brought for my bedroom. I’m using Annie Sloan chalk paint and clear wax and hope to share my progress of the next few days.

As for my shabby upcycle, I would love to hear your thoughts?

How To Create A Room In A Shoe Box (Cath Kidston Style)

last month I heard about a really exciting competition. Not only was it a fabulous skill based competition that required plenty of creativity, but it was also run by the fabulous Cath Kidston.

Given how much I love both a creative competition & everything Cath Kidston when the two elements are combined I just have to grab a piece of the action. This latest competition was extra special! You gad to create a ‘Cath Kidston’ inspired room in a shoe box with the use of everyday items you would find in and around the home. You could design any room in the house you wanted and the winner would receive Cath Kidston gift vouchers to create their designer room for real. Hearing this it was my plan to design my daughter Alice-Sara a bedroom fit for a girly princess. Excited, I found myself eager to get started on the project and here’s what I produced.

20121003-010015.jpg

So, this is it! A bedroom fit for a princess. Filled with pretty fixtures and fittings with lots of inspiration taken from Cath Kidston.

20121003-010331.jpg

I chose to wallpapered my box in this pretty pink rose craft paper.The floor has been painted in a antique white acrylic paint. Once dry I gave it a couple of coats of clear glossy vanish to give it that shiny finish. however, it still didn’t feel girly enough. My solution was to then cut some glittery baby pink card into small squares and then stick them to the painted floor as to create a sparkly mosaic effect.

The bed has been created with scraps of cardboard and then covered in a layer of paper mâché to make it strong and durable. I later painted the bed in the same colour as the floor and once dry I dressed it up to give it a super girly chic feel.

Blue hole punched paper has been used to create a pretty valence sheet, while odd scraps of Cath Kidston material were used to create the bedding set. The pillow has been stuffed and sewed and I’ve added some red ribbon and a bow to give it a pretty finishing touch. The last thing added was the cute little heart cushion which is a little wooden embellishment I hand painted red.

20121003-013754.jpg

20121003-013901.jpg

My blind for my window has been created with the use of some crinkled cardboard that I took from the inner box of a packet of micro chips. I cut it down to the required size then jazzed it up by painting it in a really pretty pinkish red colour. I finally finished by adding some Pic-Tixx red glitter.

To create the rest of my window dressing, I made a curtain pole by wrapping a small thin straw in hot pink ribbon then adding two clear beads at either end as to create curtain pole finals. I then used some more odd scraps of Cath Kidston material for the curtains which I fitted to the pole with the use of double sided tap before tying each one with pretty pink ribbon to finish.

Both my wardrobe and chest of draws were created from empty small boxes that I covered in paper mâché to give them durability. To get the panel effect on the wardrobe door I used a small thin straw cut up into four small pieces. I taped these in place on the door before adding the paper mâché mix. Once dry I painted them both, adding detail with a black deco maker. To finish them off and give them a certain edge I added some pretty touches as to create a French inspired shappy chic look. This was done by using scarp book embellishments and sticky gems.

20121003-015151.jpg

One of my favourite items in my ‘Room In A Shoe Box’ is that of the dressing table.This was so simple to make, yet extremely effective. I started with the oval lid from an empty liquid detergent bottle.This was then painted with a few coats of paint. I then used strong cardboard to create the top of the dresser. This was painted in the same colour as the lid. Once both we’re fully dry I added some silver cooking foil to the top section as to create a mirror. I then used a sharp craft knife to make a slit at the top back of the lid so that I could slot and fit the two sections together. Marker pen and lots of embellishments were used to give it that same shabby chic feel as the rest of the furniture.

Of course my dresser needed a stool to make it complete! I used white clay to mould the shape of a stool before baking it in the oven for around 15 minutes at 160’c. Once cooled I glued some Cath Kidston material to the seat of my stool.

I got really creative when it came to the floor lamp. For this I used a small piece of white clay, one small straw, one empty metal cake tin, gem stones and some paint.

20121003-020303.jpg

20121003-020355.jpg

I made lots of little accessories to give my room a girly but comfortable feel. These included…

Rugs made with Cath Kidston material off cuts.

canvas and hanging pictures made with pretty craft paper mounted on cardboard and decorated with gems and glitter.

Curtain tie backs made from pretty pink ribbon.

Bunting made with yarn and various Cath Kidston material off cuts.

Decorative items like hearts and vases made from clay and later placed on both my dresser and draws.

20121003-021102.jpg

Admittedly I made some mess in the process…

20121003-021437.jpg

… But I love my creation and even if I don’t win then at least I can say I had lots of fun creating my Cath Kidston inspired entry.

20121003-021653.jpg

To check out the Cath Kidston store click here also check out the Facebook page for up coming competitions

THIS IS NOT A SPONSORED POST IM AM JUST SHARING MY ENTRY WITH PRIDE!