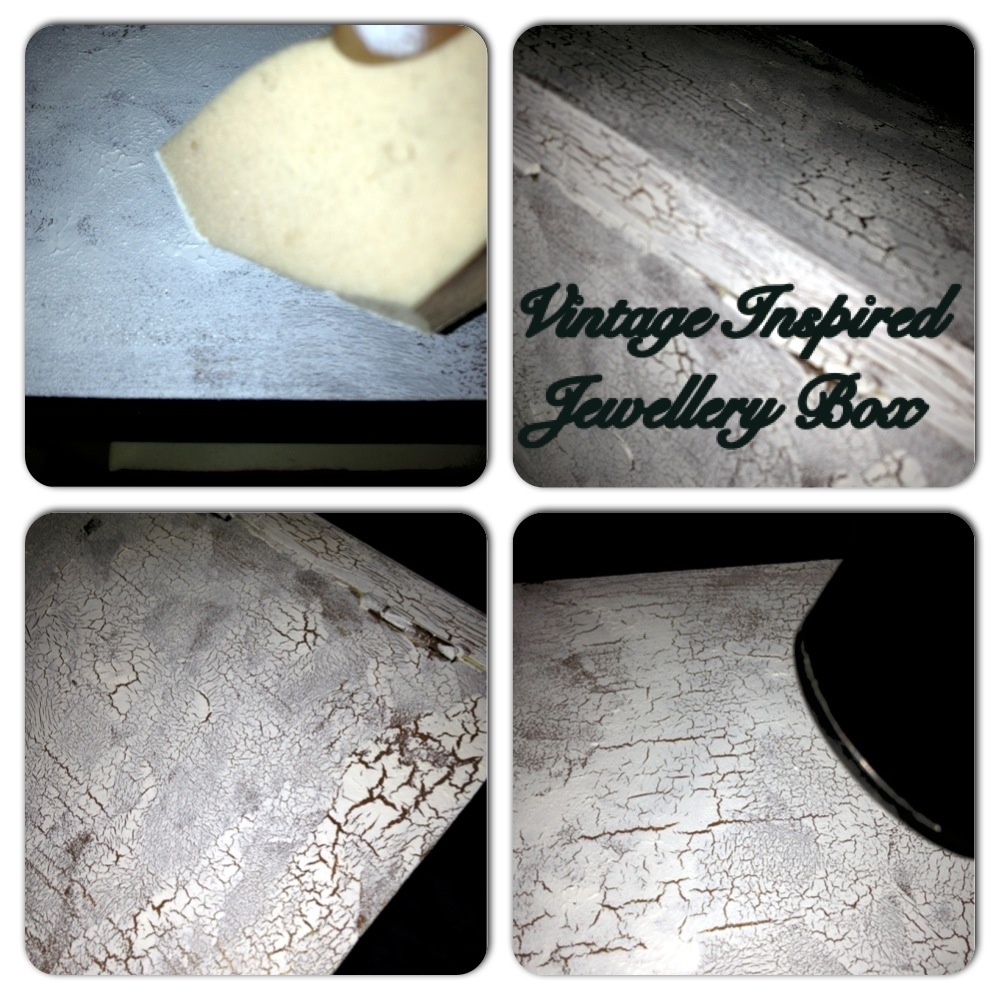
I love to make things that bit different by adding my own unique touch to them. As I needed some new drawer knobs for some refurbished vintage furniture. I decided I’ll hand paint my own, while trying some new techniques at the same time.
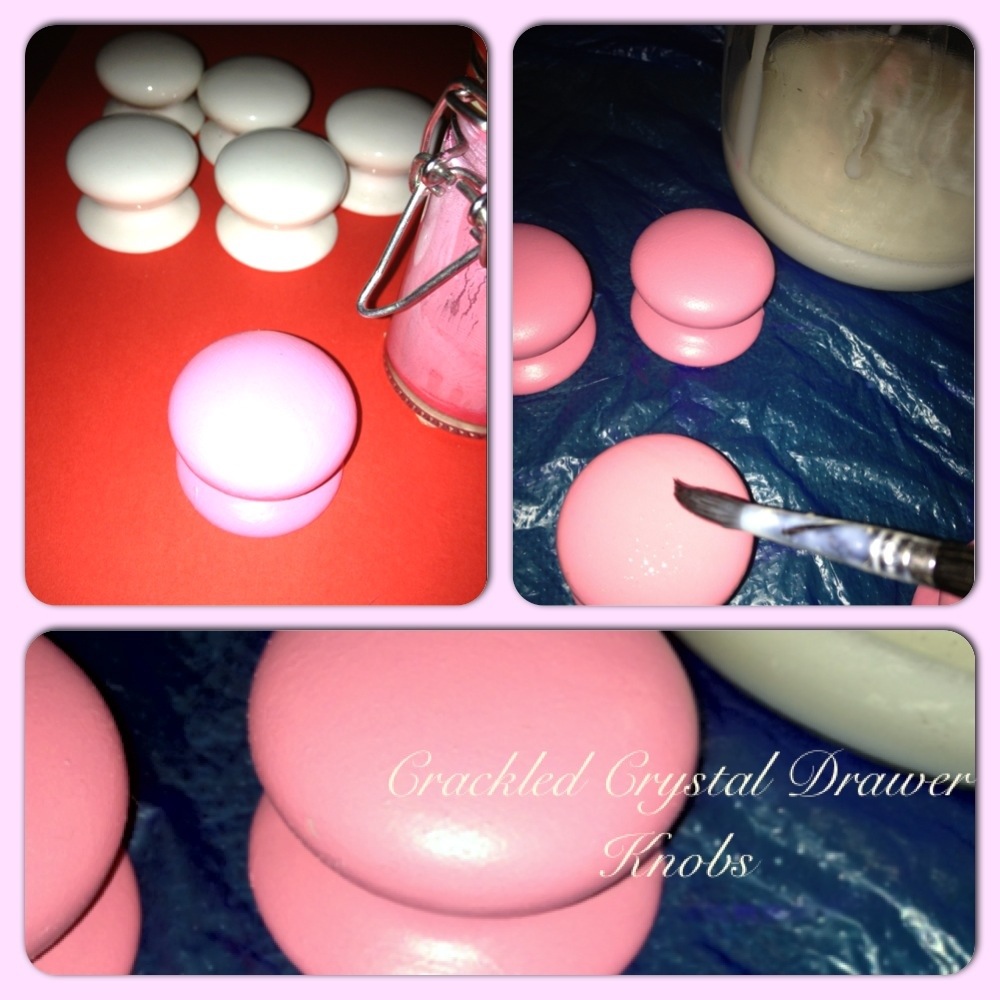
For this project I brought some plain white ceramic drawer knobs to paint. Here’s what I used…
Plain White Ceramic Knobs (Homebase but brought mine from a bootfair)
Ceramic Paint (I used Pink)
Tiny White Flat Backed Crystals (real not acrylic)
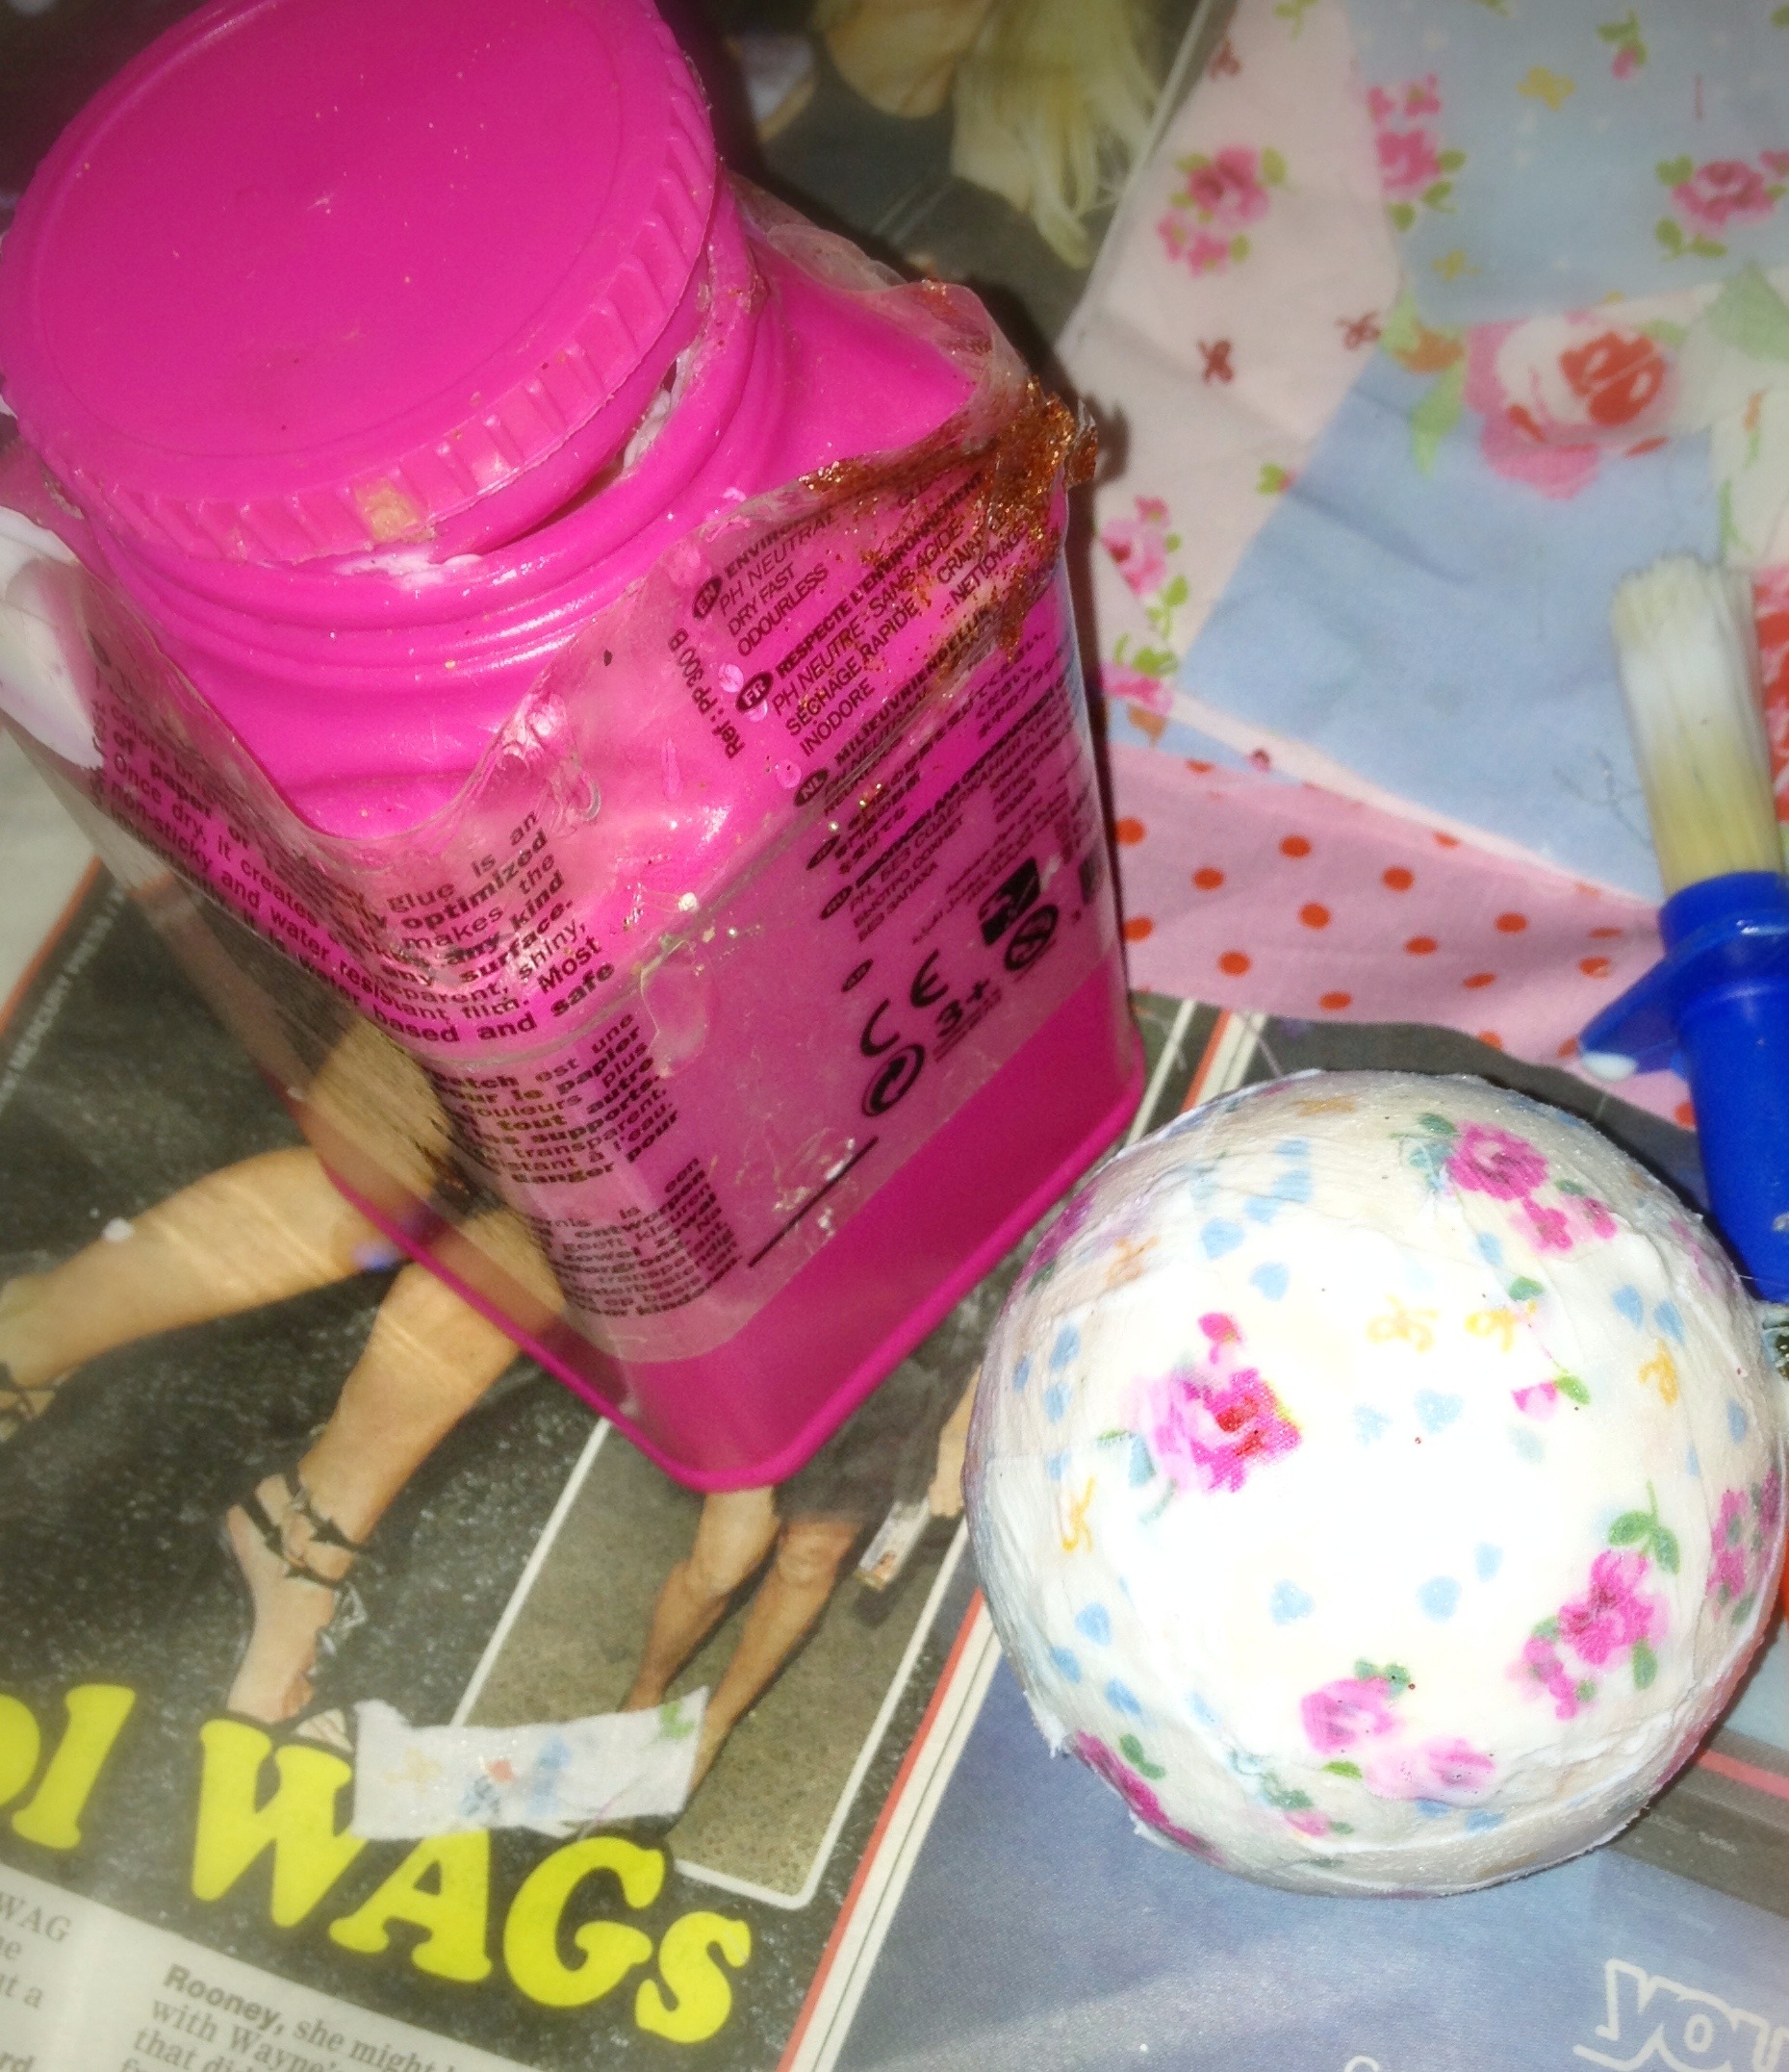
Decopatch Glossy Glue
PVA (glue)
Water (to dilute glue)
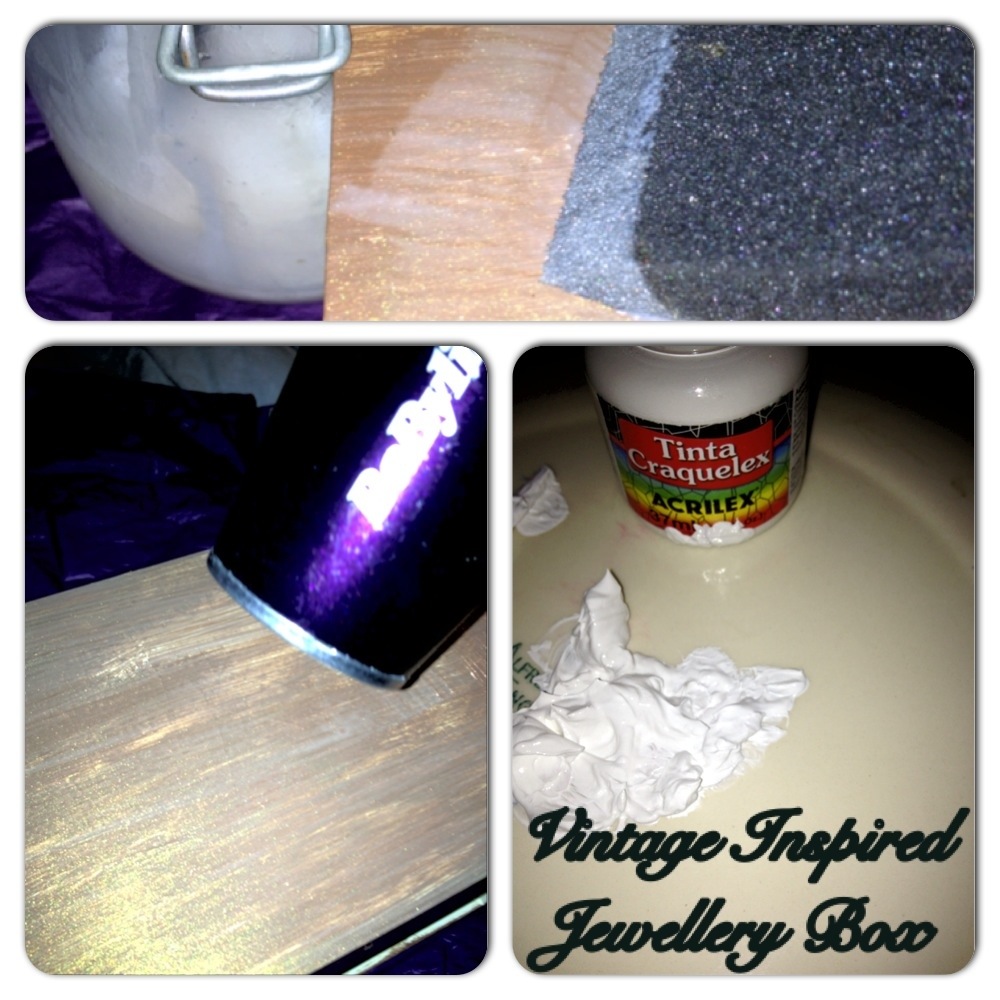
Acrilex Tinta Craquelex – Number 810 (basically a crackle paint in baby blue)
There are also some tools required…
4 Brushes (for glue/paint)
1 Sponge Applicator (small)
Jar/Bowl (to mix PVA with water)
Stick (to mix PVA and water)
Heat Tool/Hair Dryer
I wanted my drawer knobs to have a vintage, shabby chic feel about them, so they would nicely match our current furnishings that I have been refurbishing with Annie Sloan chalk paint.
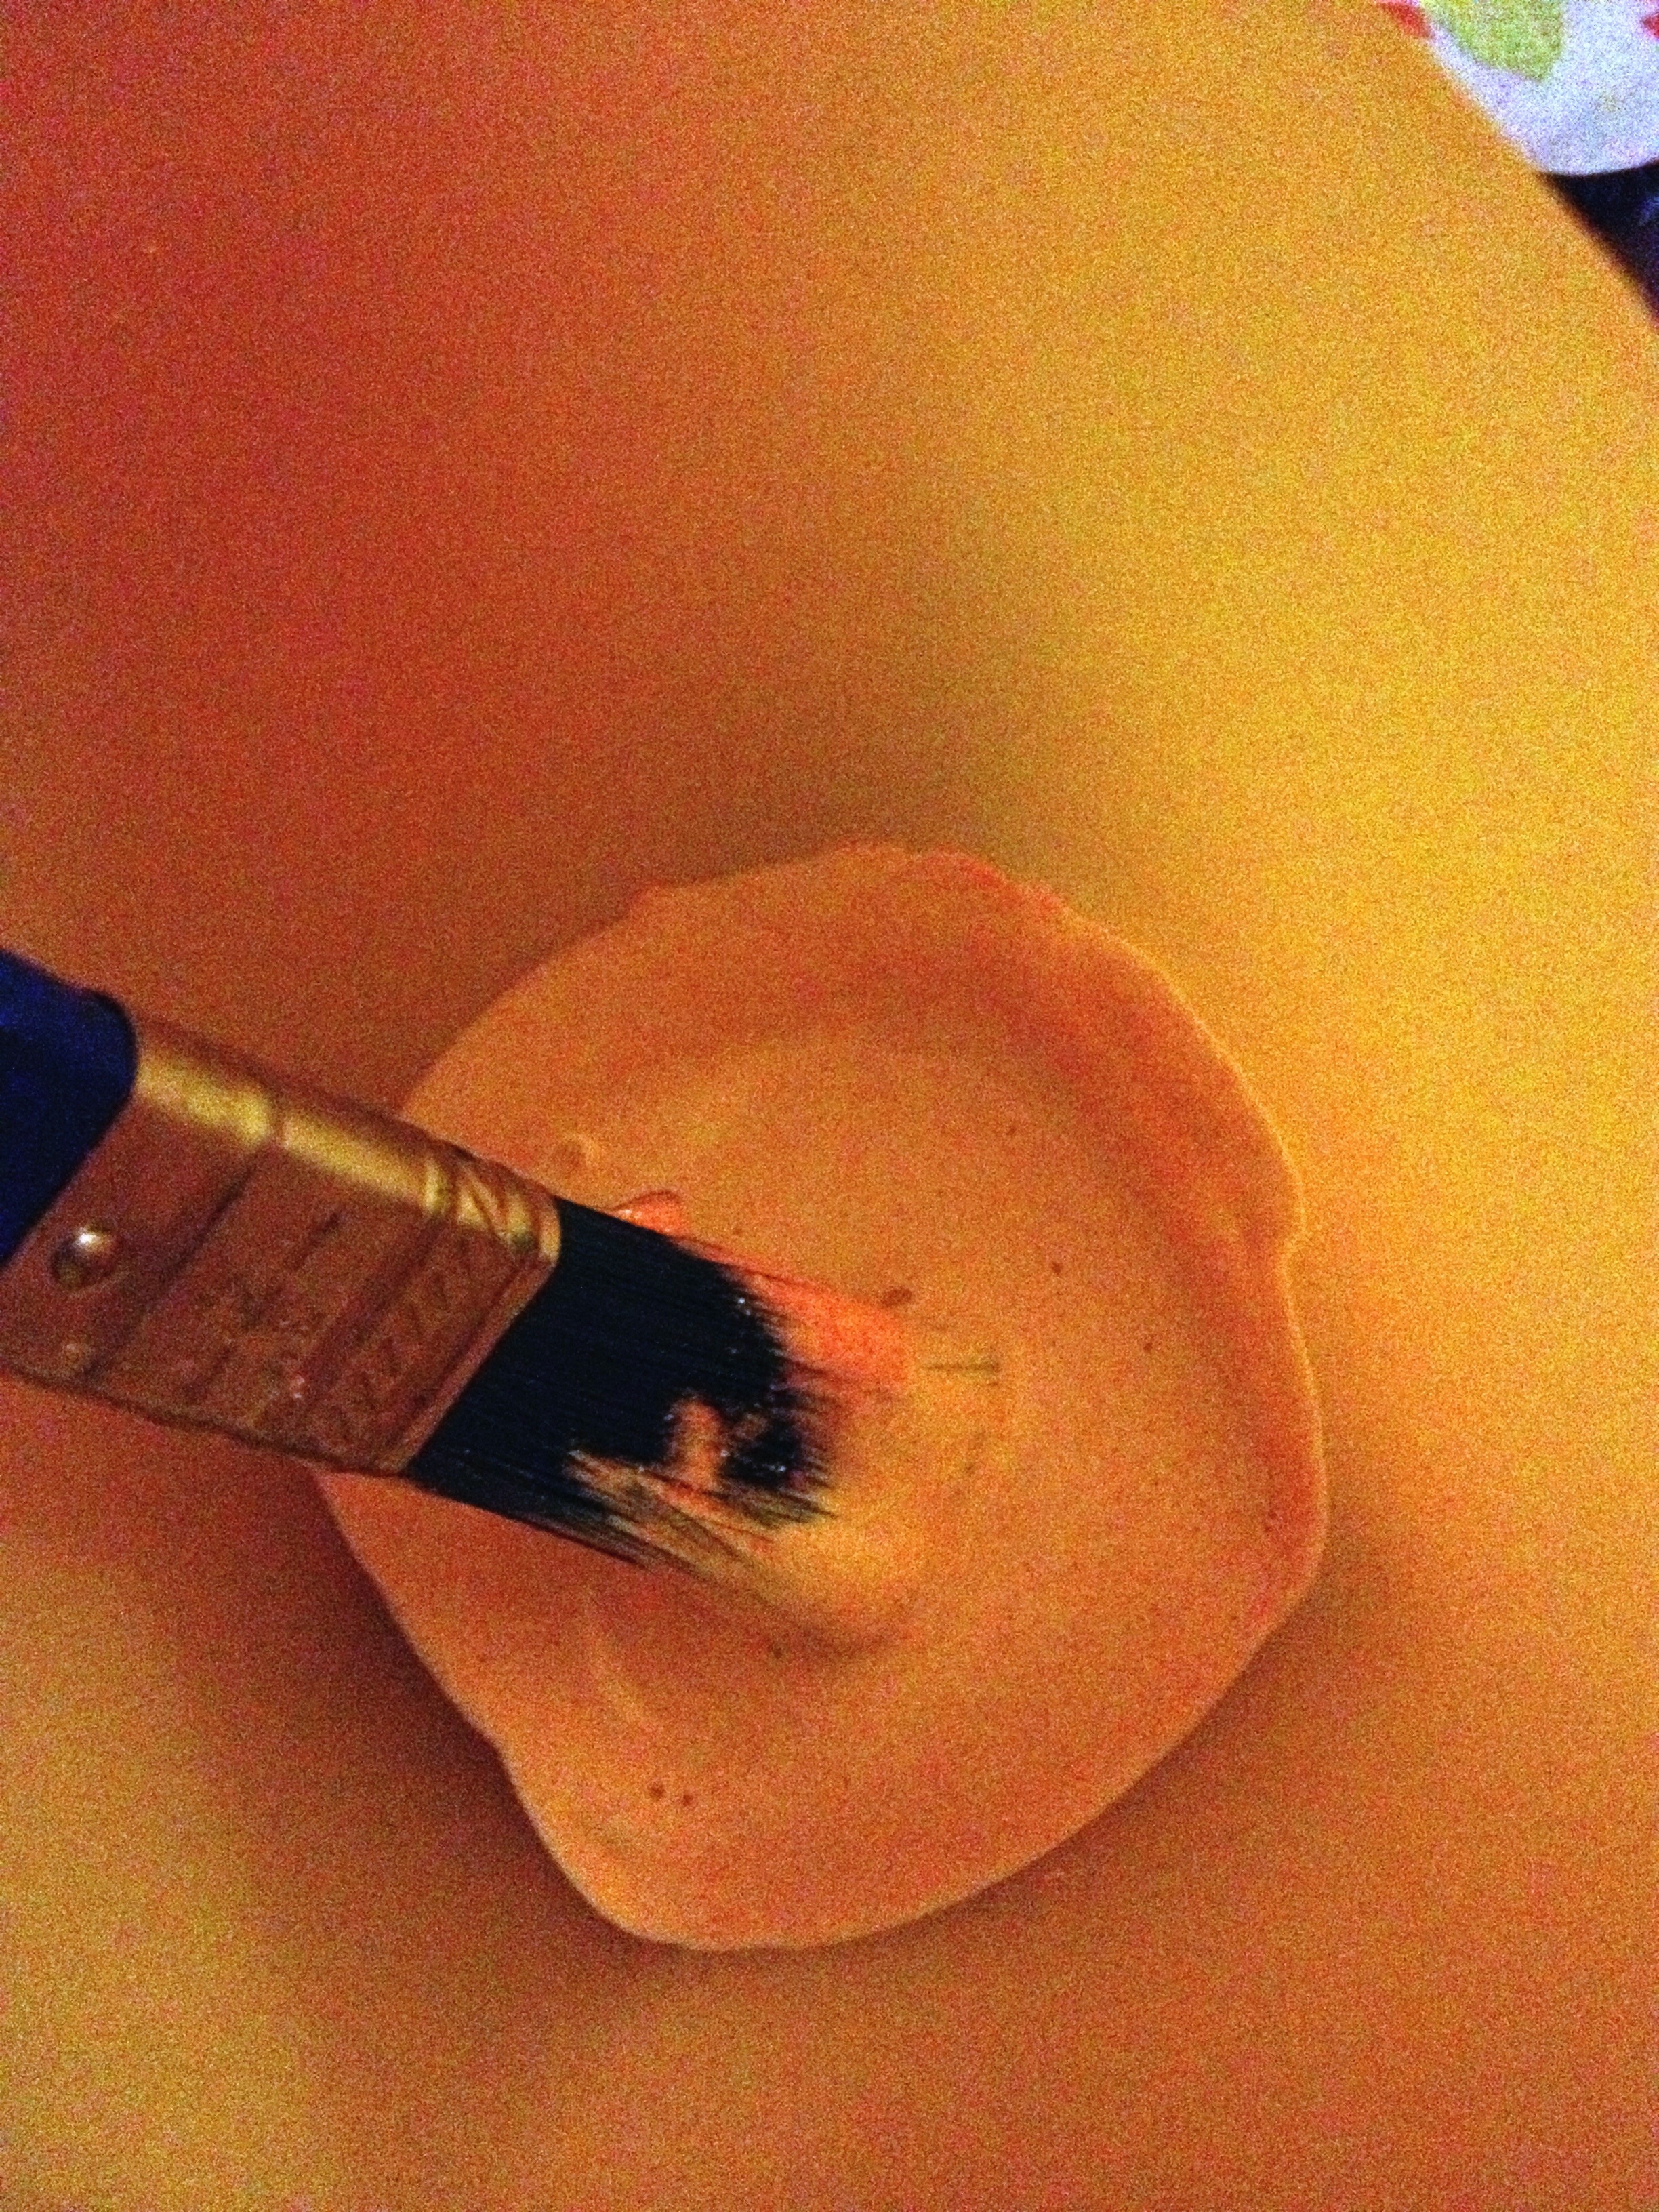
To start I gave the knobs two coats of pink ceramic paint (20 minutes drying time between coats).
I then took my PVA glue and added 4 big dollops to a preserving jar and mixed in some water. I added around one part more glue then water. This made a fair amount, nowhere near what I needed for this project, but given I’ve used a preserving jar, it will keep for later crafts. Remember you really don’t need to buy an expensive crackle medium as this really does do the very same thing for much less.
I then took a small tip paint brush and painted the glue over the tops of my drawer knobs, being careful to avoid drips. I was creating a total of 4 knobs so worked in groups of twos. This is so your knobs don’t have time to completely air dry.

Once your glue is applied, take either a hair dryer or heat tool and give each knob some help to dry with a blast of heat (only, don’t dry fully)! You need your glue to be almost dry (the tacky stage).
Now take your Acrilex Tinta Craquelex (aka crackle paint) and with a clean brush apply directly over the top of the glue.
IMPORTANT… Do not go over the same painted surface more than once or this will stop the crackling effect from appearing altogether.
TIP… Dab on at speed adding texture as you go for a sharper effect.
As soon as the tops of your knobs are covered again use a heat tool/hair dryer and you should start to see the cracks begin to appear before your very eyes.

Use the heat source till your knob tops are almost completely dry to touch. Then leave for 30-40 minutes to air dry.
At this stage you can work on the remaining 2 knobs in the same way.
Once the tops have dried, apply the PVA solution to the remaining areas of your knobs. Do this in the same way as before (using heat source till glue is tacky). Then again apply the crackle to the remaining areas only this time sponge it on. Don’t forget.. Never go over the same area more than once.
Once more apply the heat source to each knob to help cracks develop and speed up the drying process.
Leave to air dry as before.

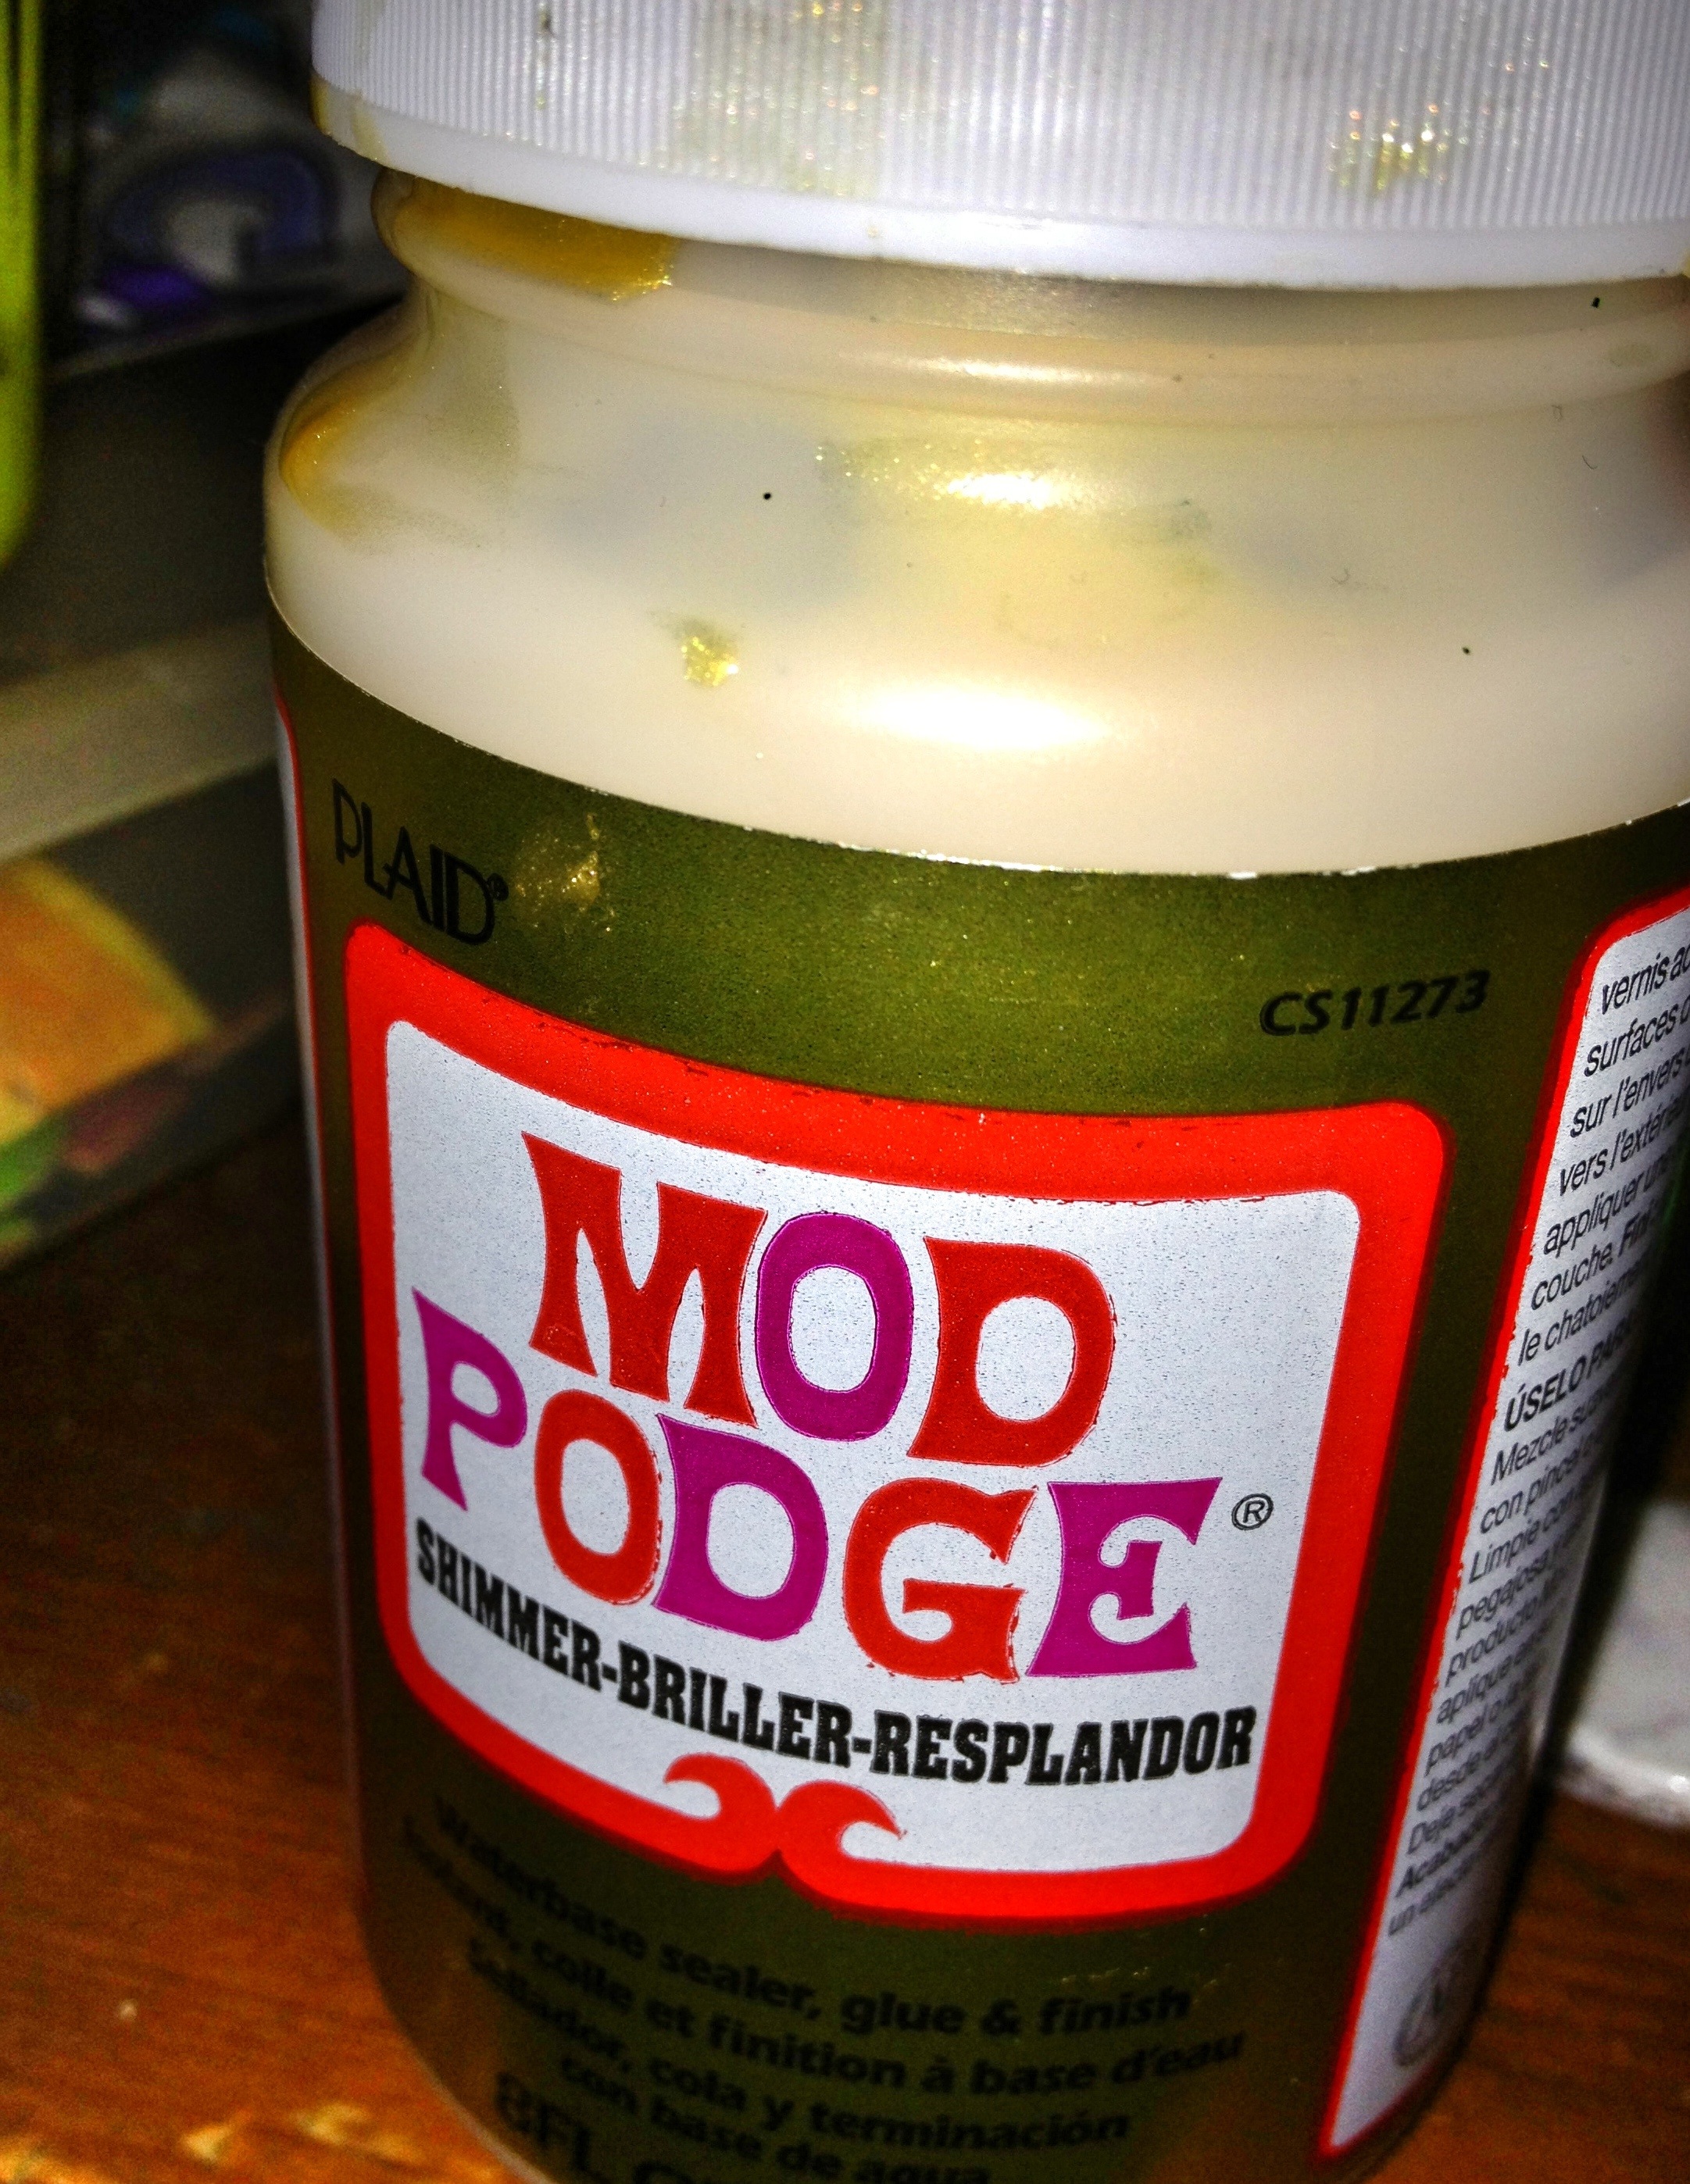
Once these are dry, take your white flat back crystals, a clean small brush and some Decopatch glue.
Mod podge is to thick for this project and PVA won’t give it the protection it will require, Decopatch glossy glue seals these perfectly!
Gently apply the Decopatch glue to each knob. Only apply 1 thin layer and always go in the same direction as you started, avoiding unsightly brush marks.
One by one as you’re applying the glue, put in place your flat back crystals (a column of three down the middle).
Be sure to cover each drawer knob entirely in a thin layer of Decopatch glue, including over the top of each crystal to completely seal them in place. Be carefully you don’t leave any drips or overly wet areas before leaving to dry for at least an hour maybe even more (depends on the conditions your working in).
The effect is wonderful, the crackling gives them a very pretty vintage feel and I think the effect actually resembles that of lace a little.

The images I’ve included fail to really show the true gorgeousness of these drawer knobs. The crystals sparkle beautifully which sadly was very had to capture in a photograph.
So… What do you think?
This isn’t particularly difficult to do, yet its a technique that still manages to produce such beautiful effects.
I’ll be sure to snap a few pictures of the drawer knobs once I’ve fitted them.
Thanks again for reading.

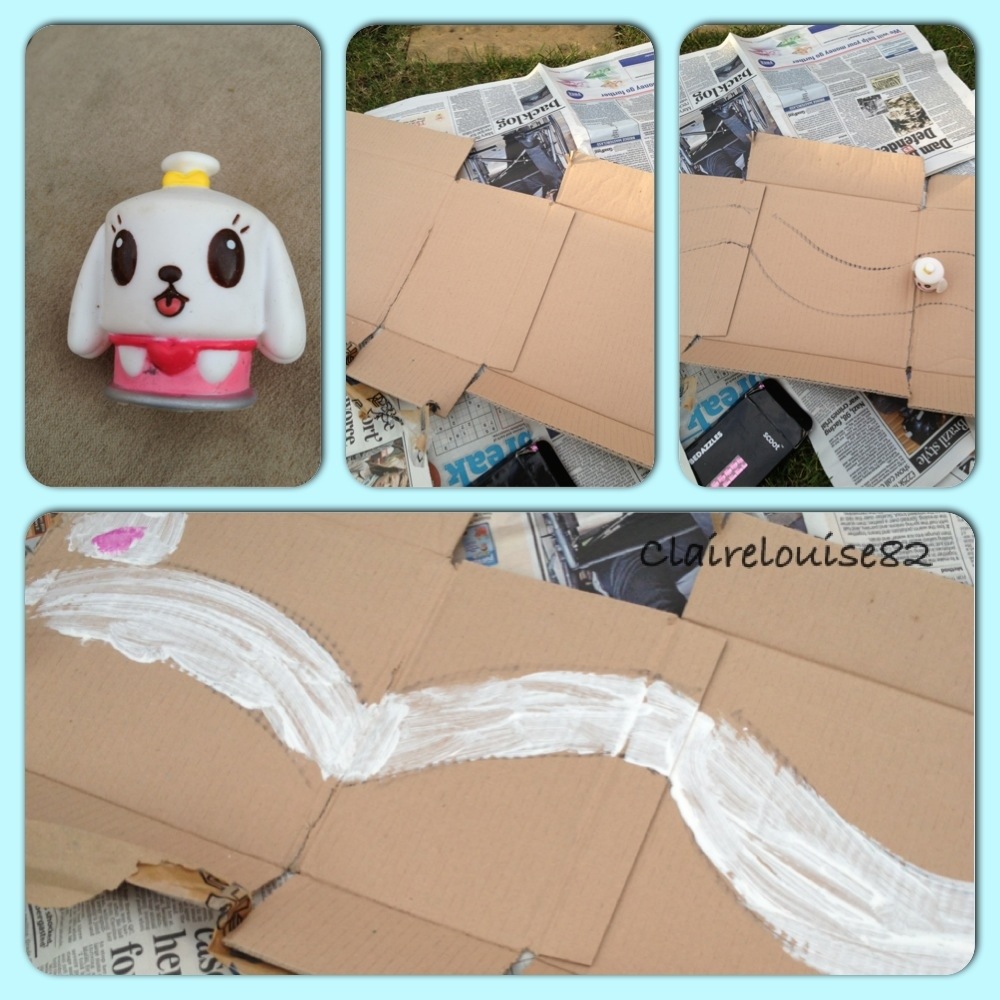
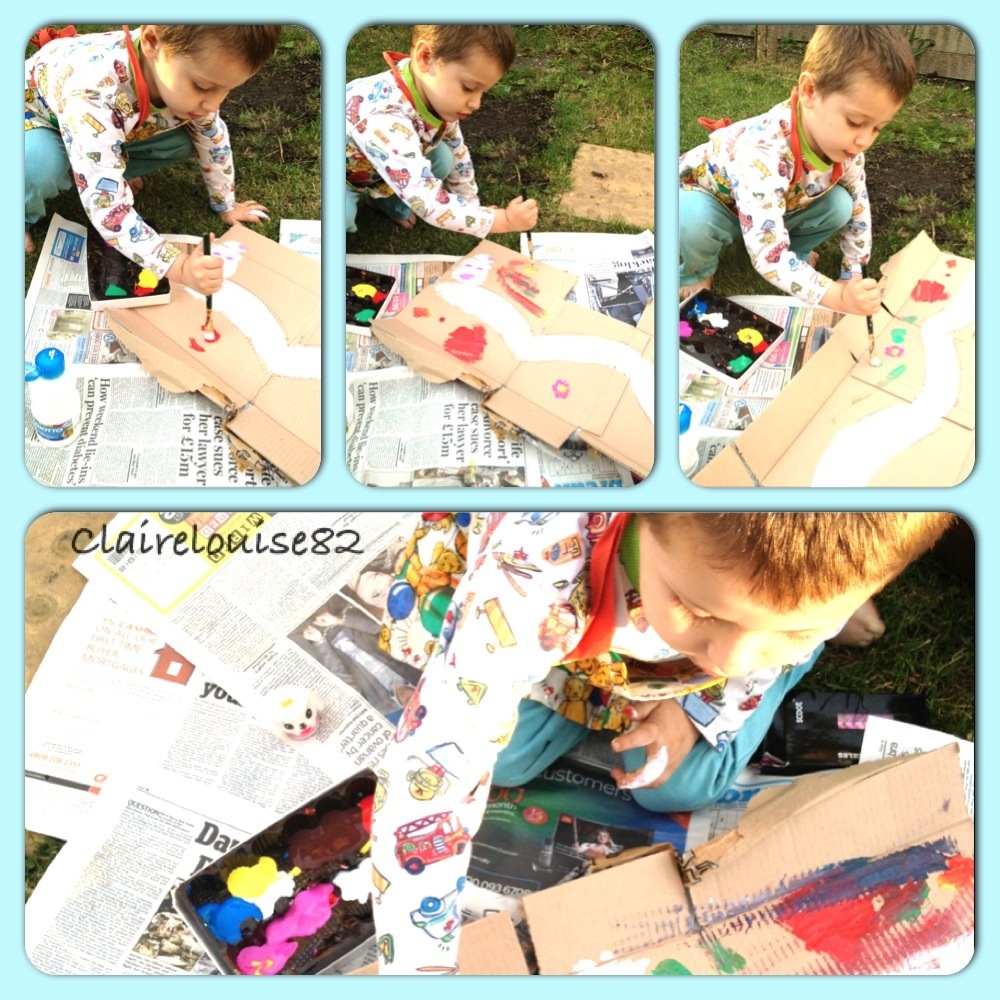
 … Using recycled materials.